This store requires javascript to be enabled for some features to work correctly.
-
Sold OutSold Out
-
Sold Out
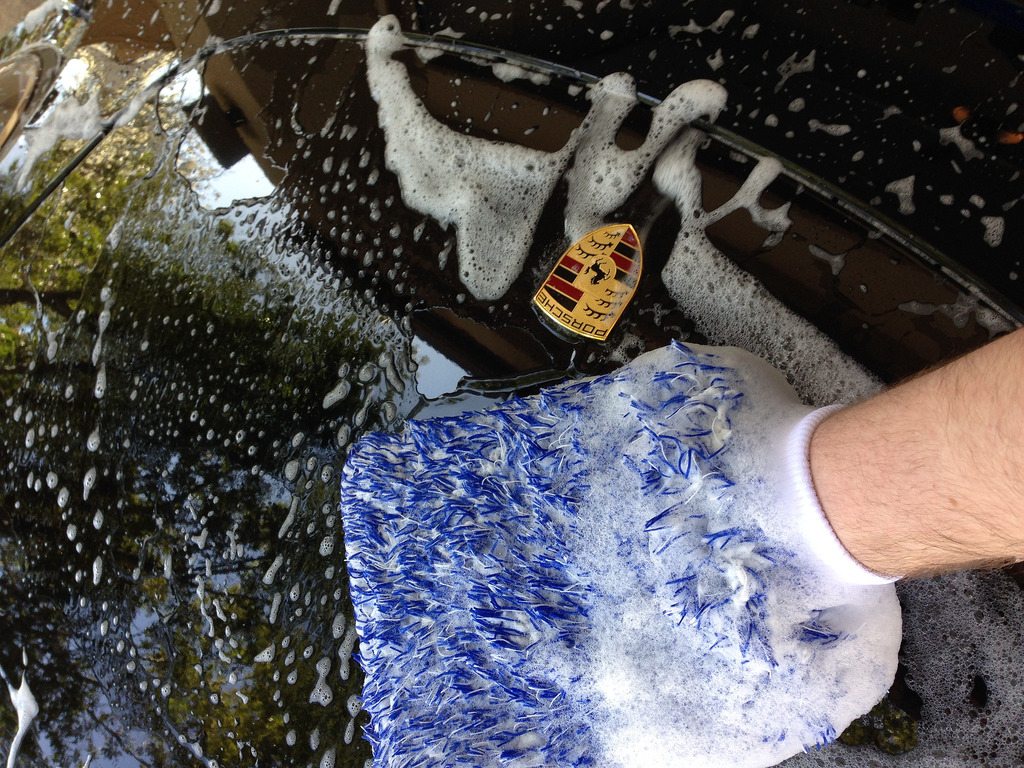
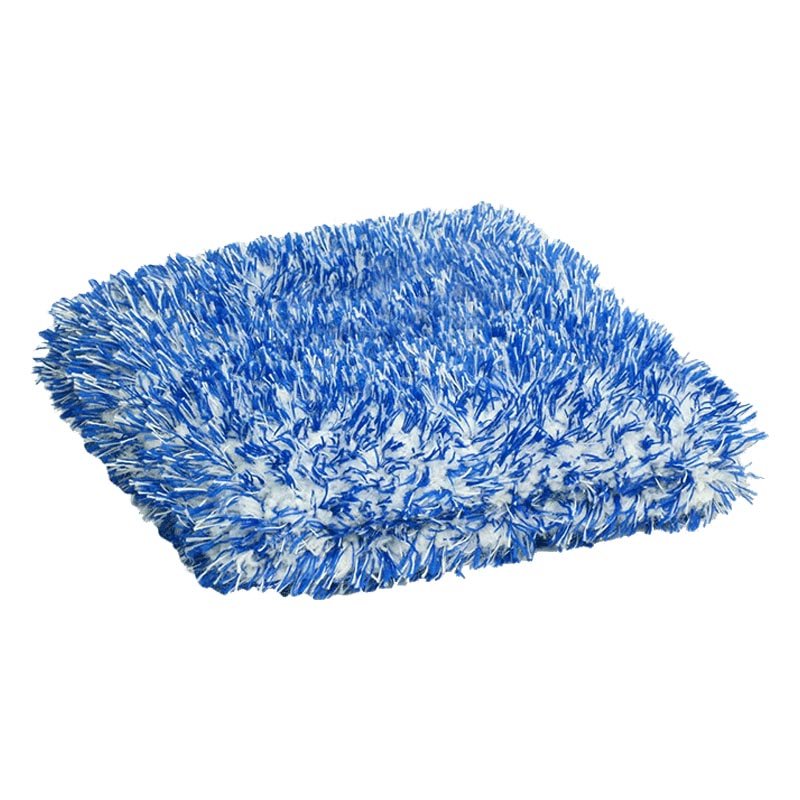
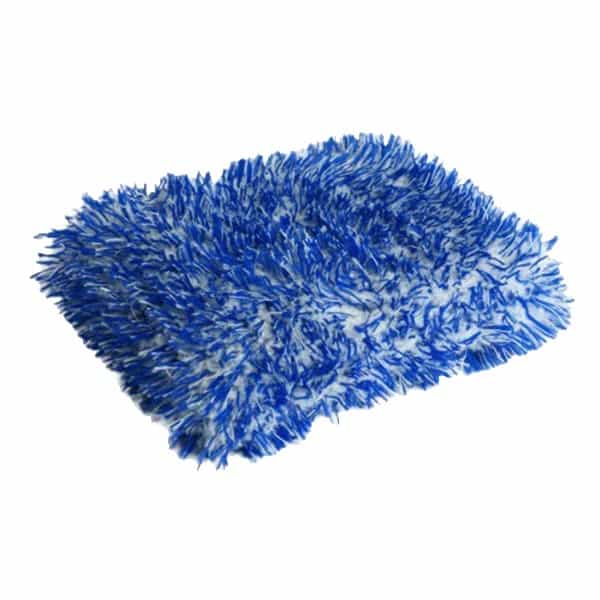
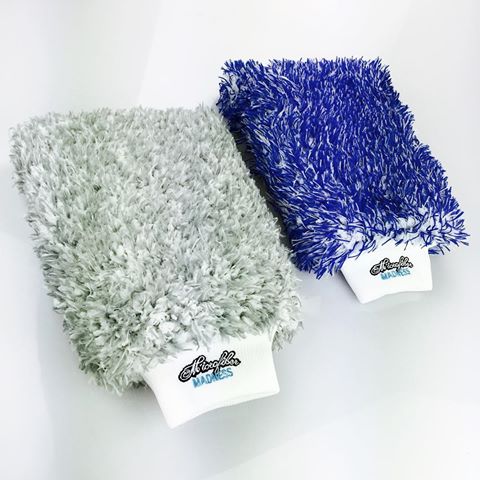
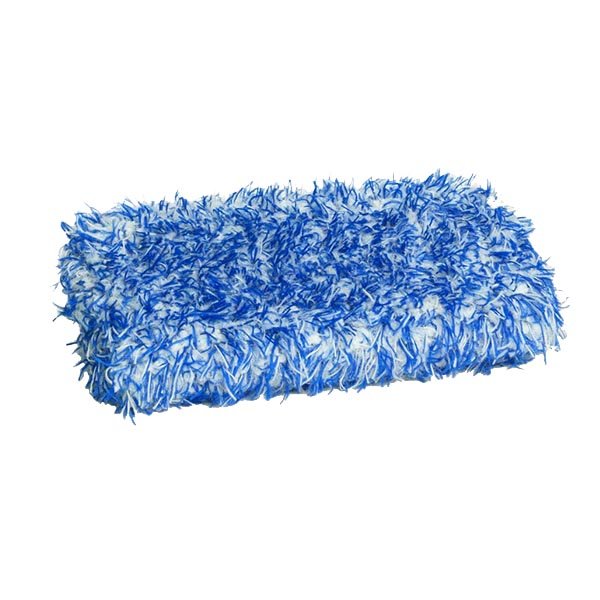
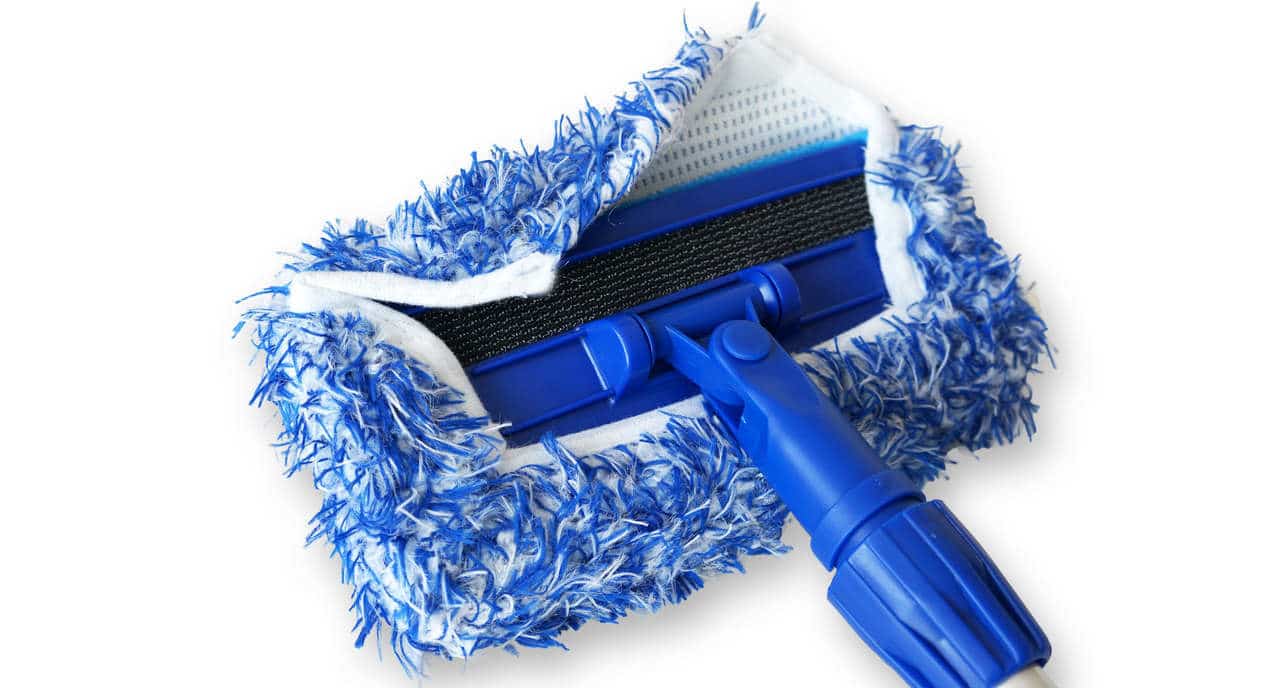
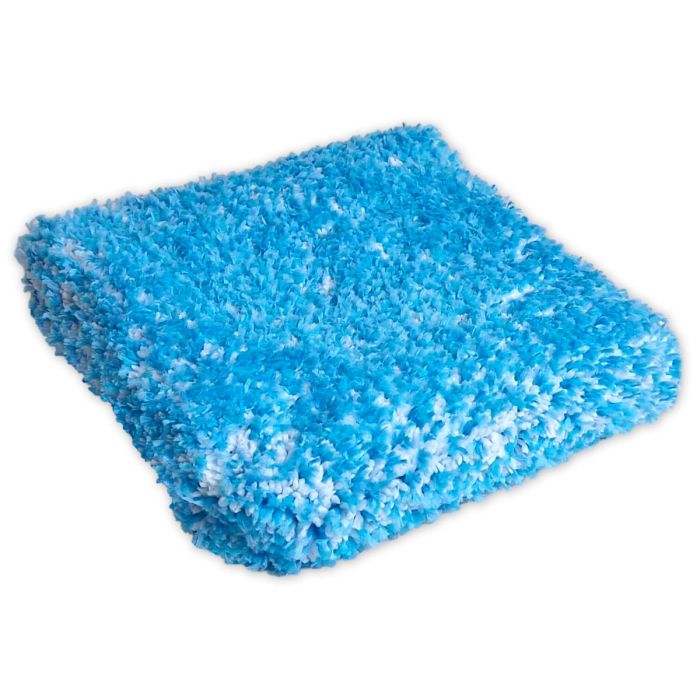
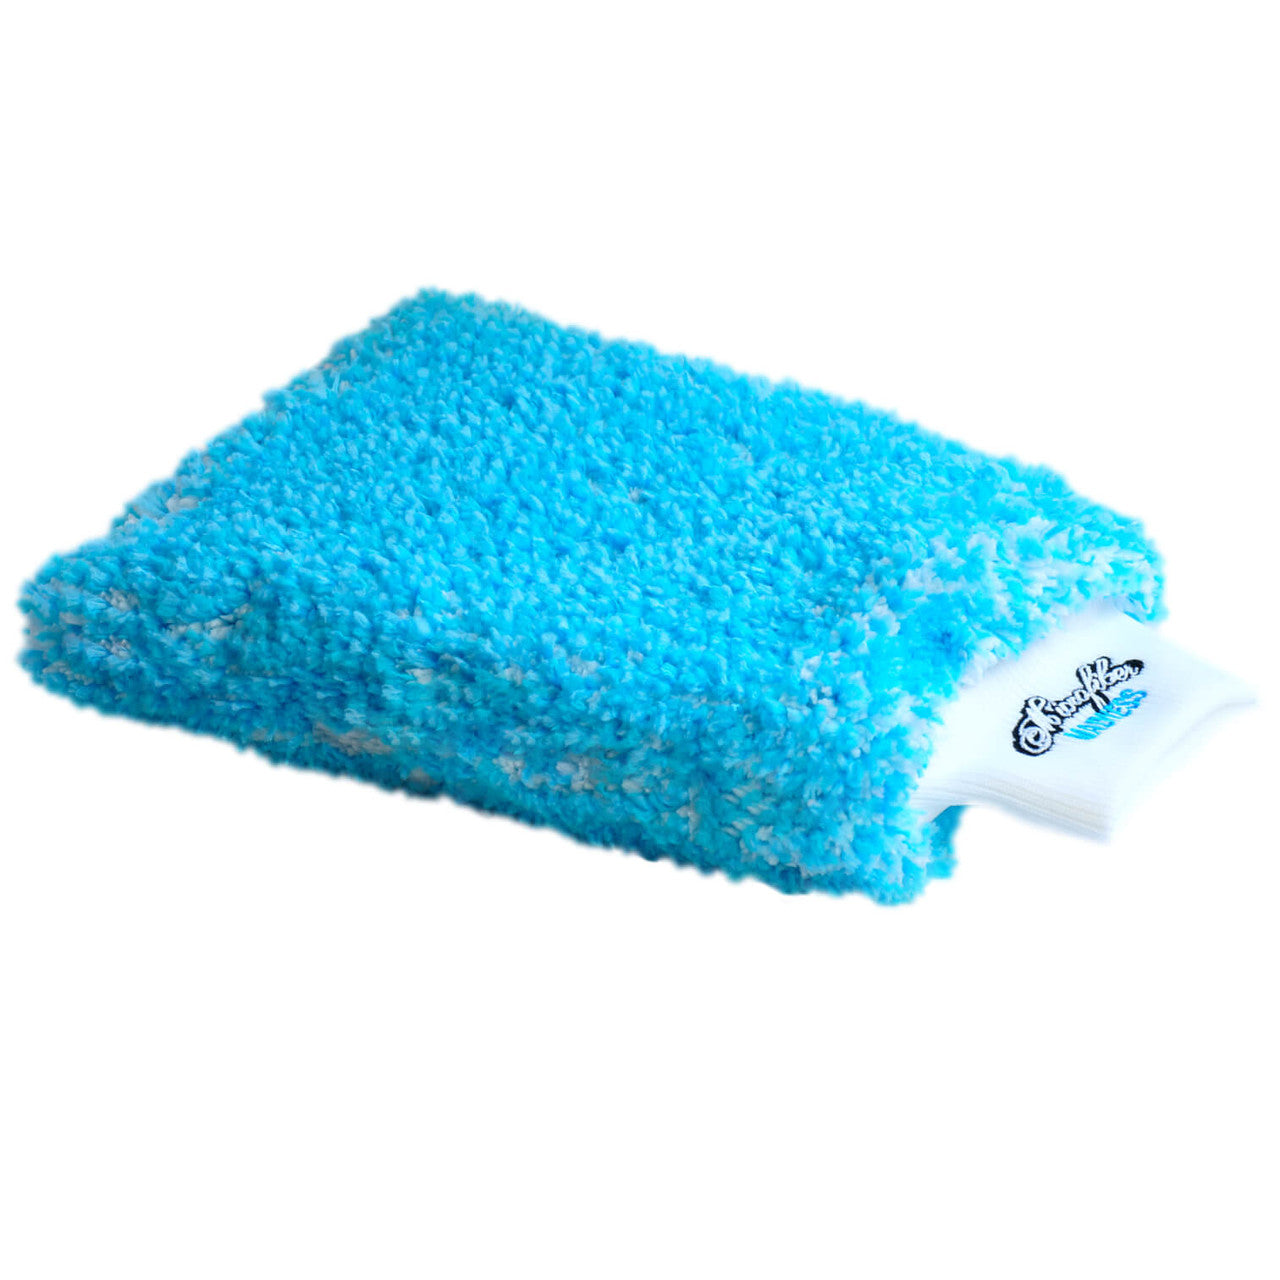
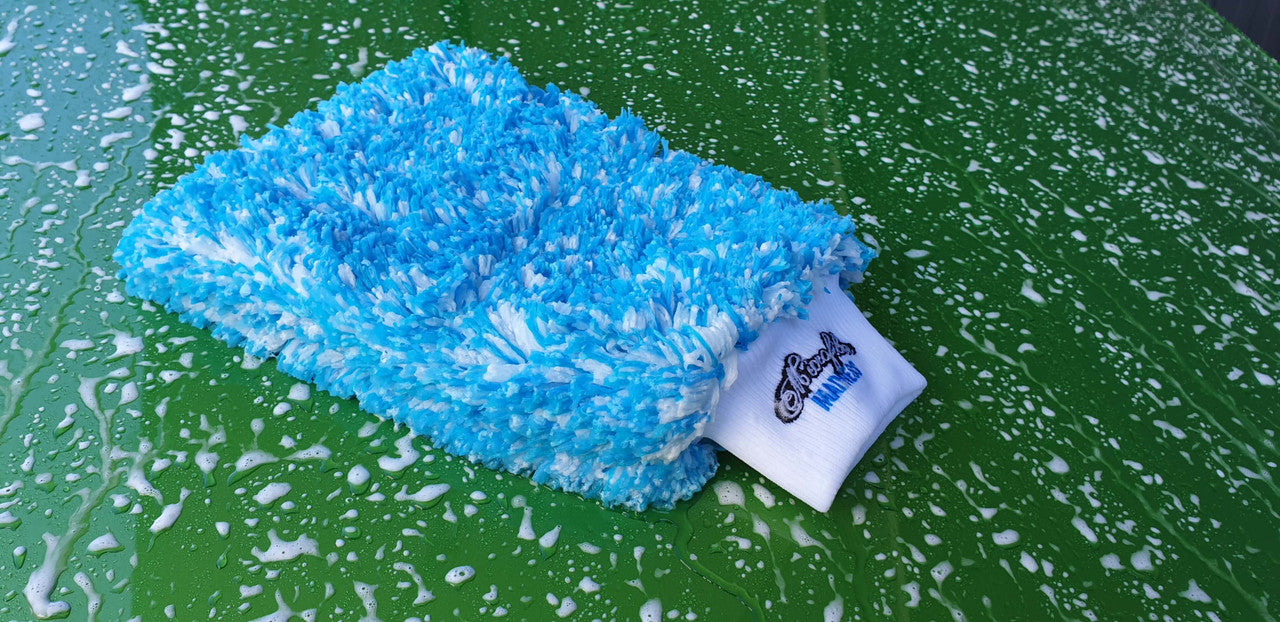
Microfiber Madness IncrediMitt
View all detailsSold Out -
Sold Out
Microfiber Madness Incredipad XL
View all detailsSold Out -
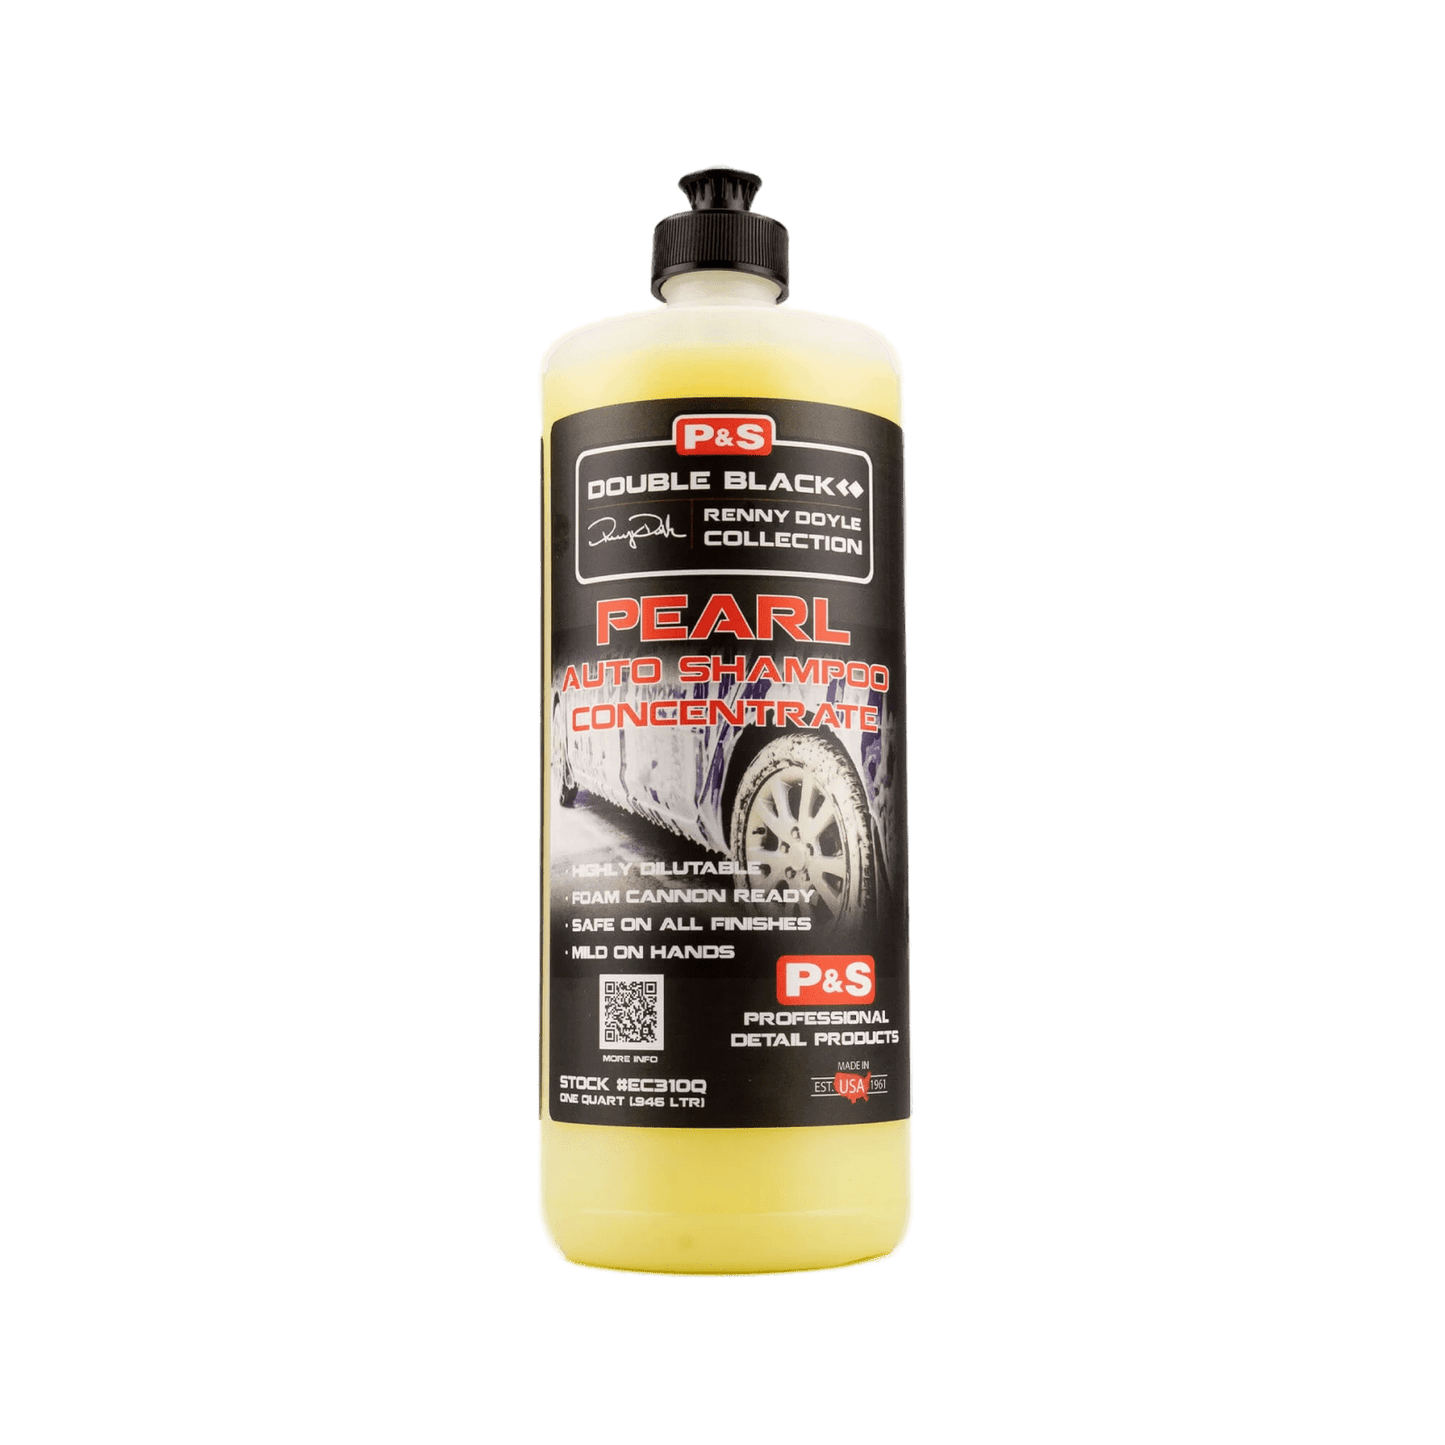
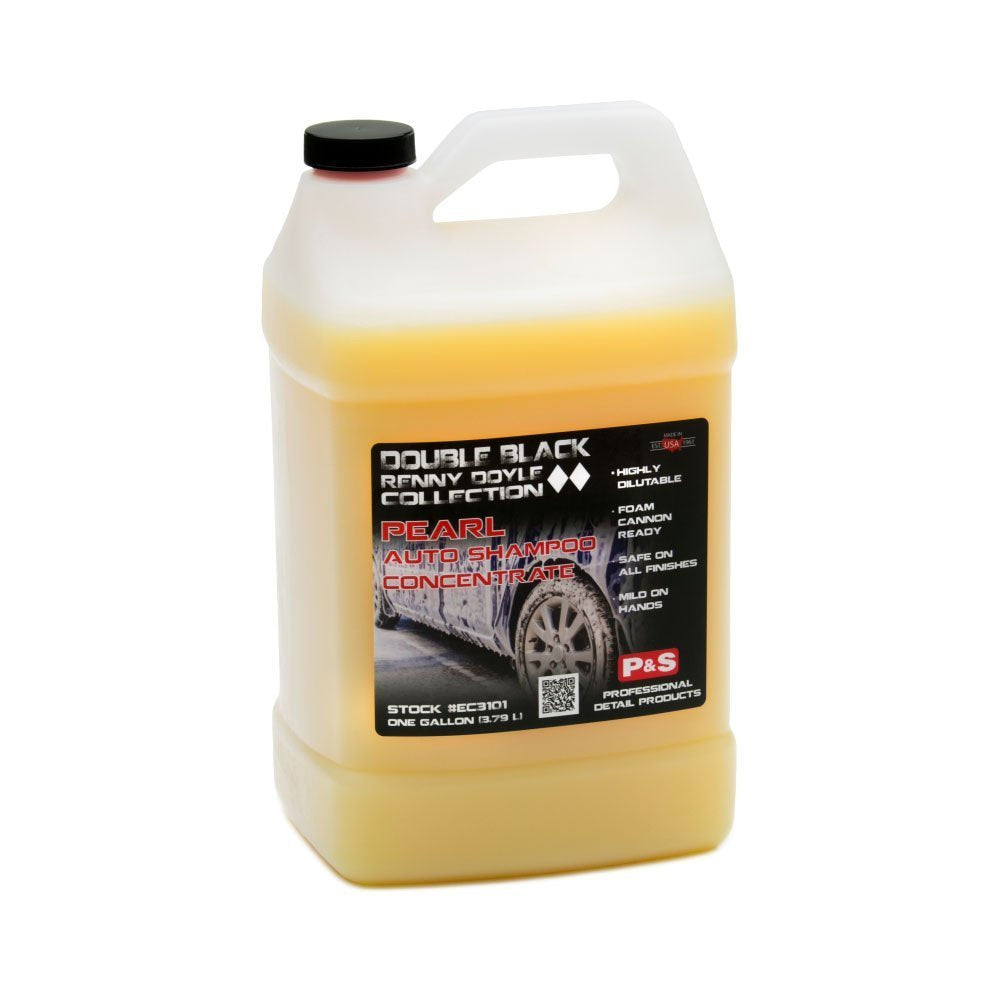
P&S Pearl Auto Shampoo Concentrate
View all details -
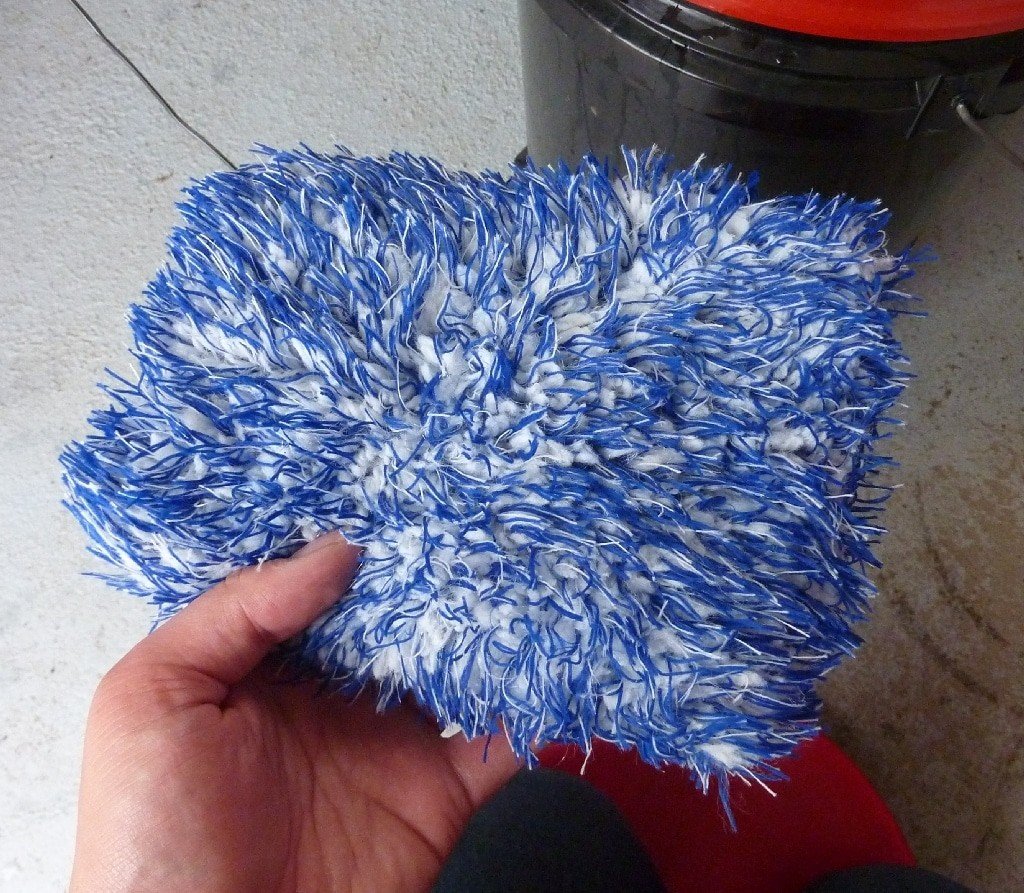
Microfiber Madness Incredipad
View all details -
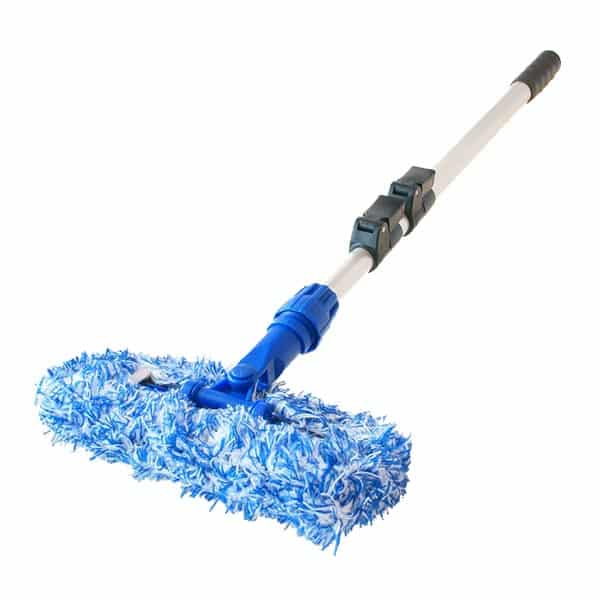
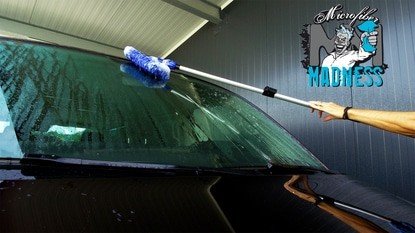
Microfiber Madness IncrediPole Full Kit
View all details -
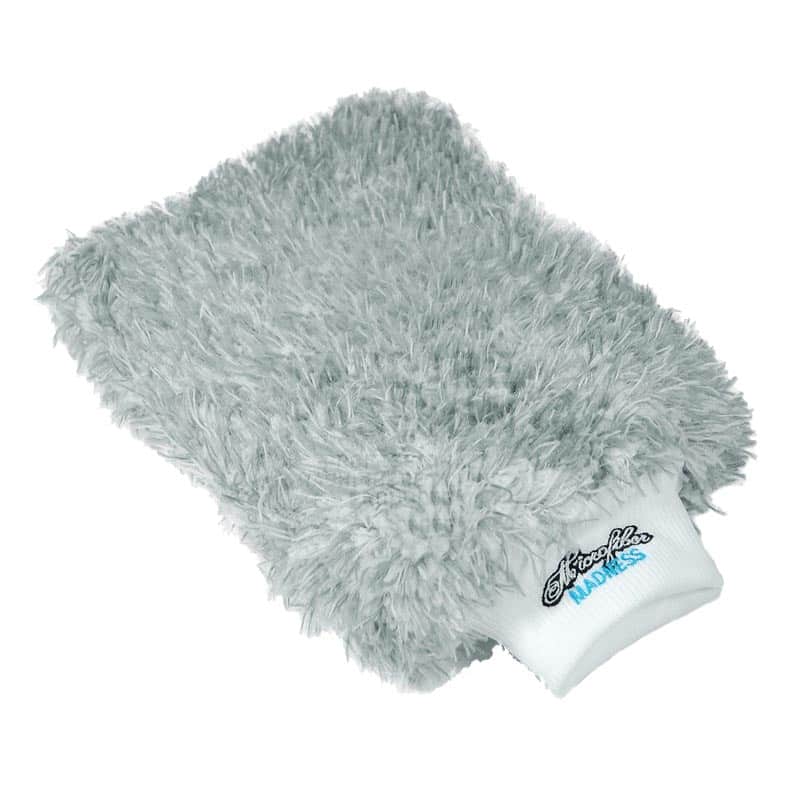
Microfiber Madness IncrediMitt Grey
View all details -
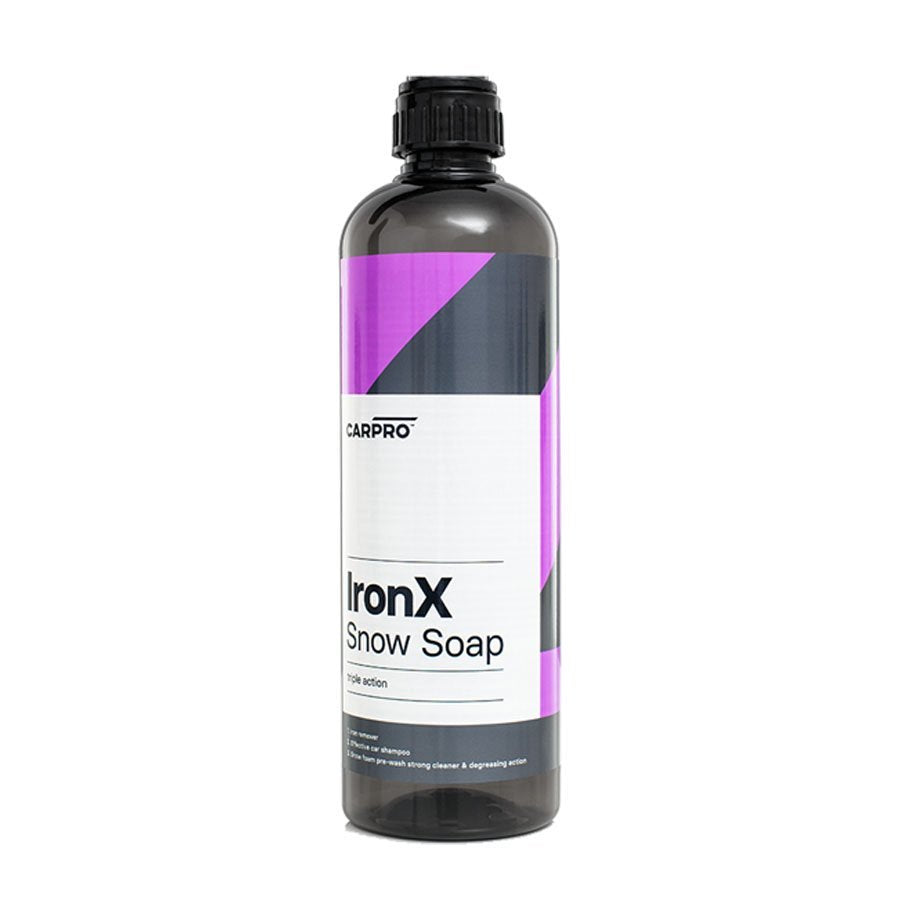
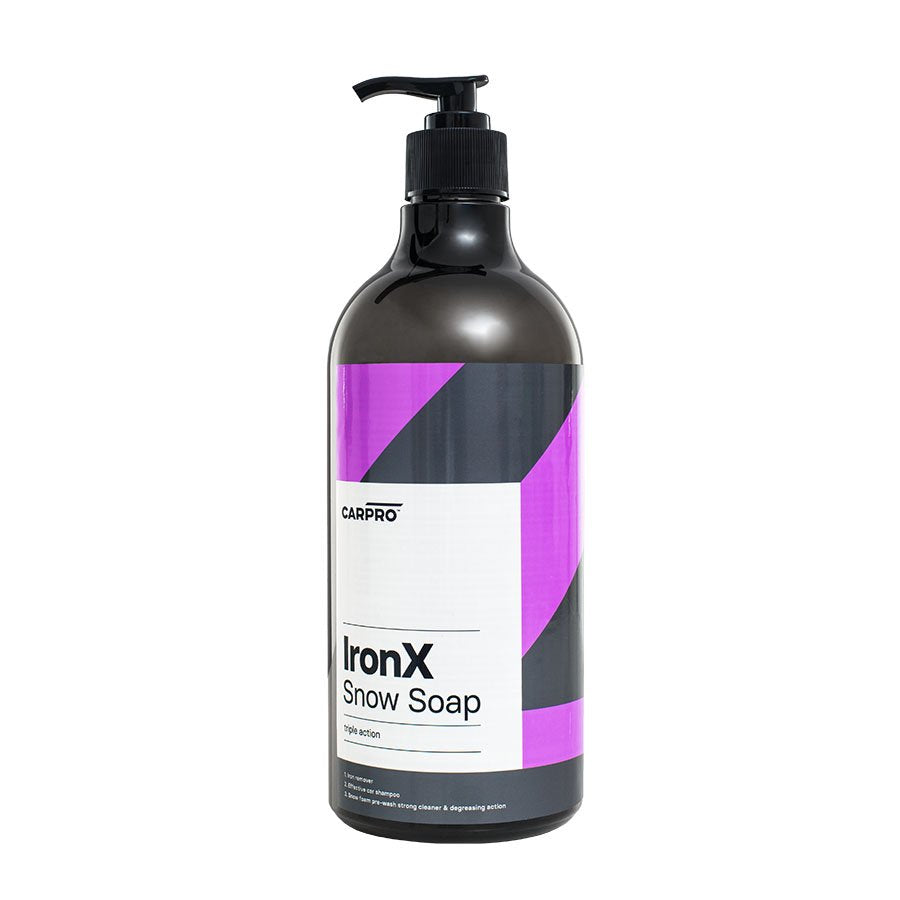
Iron X Snow Soap
View all details -
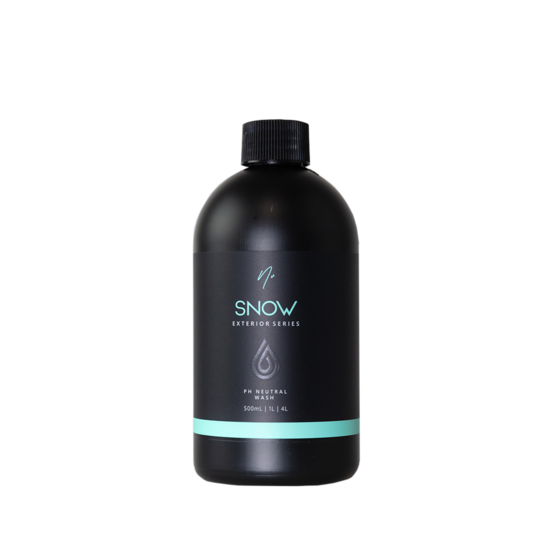
NV SNOW pH Neutral Wash Shampoo
View all details -
Sold Out
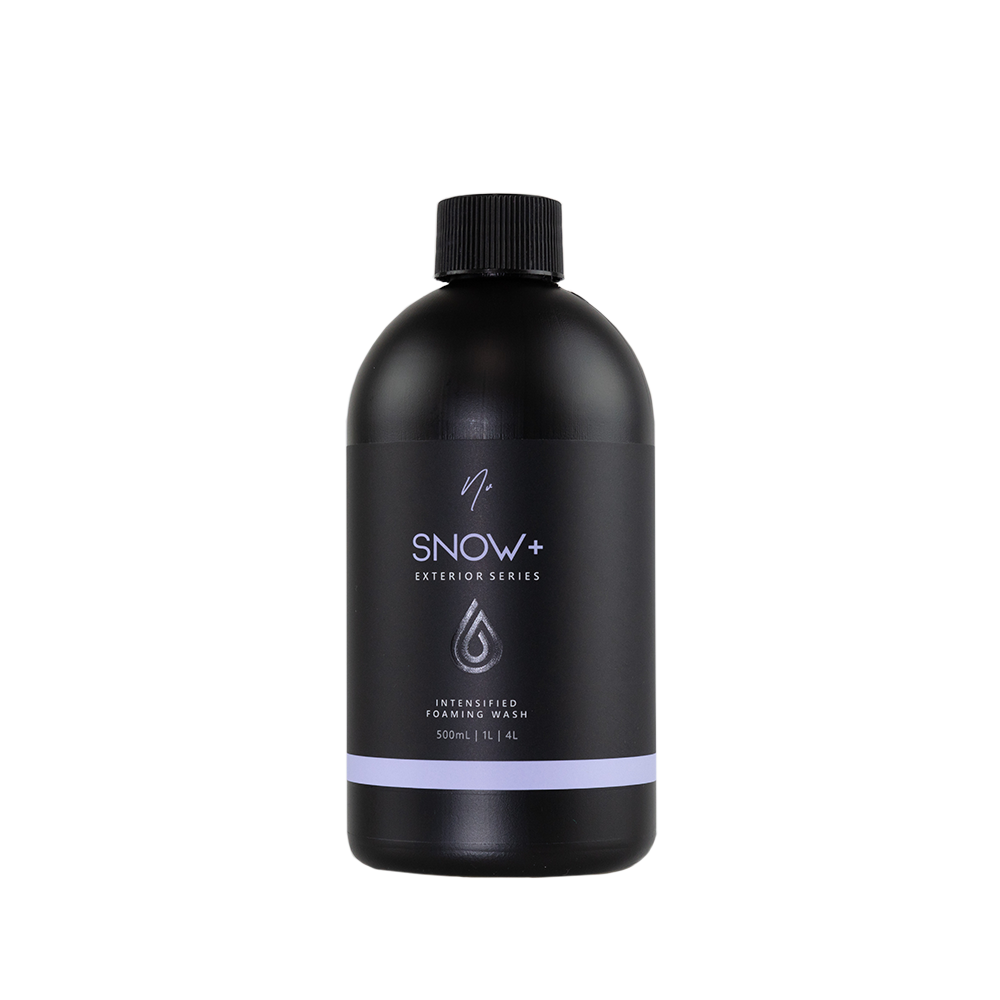
NV SNOW+ Intensified Foaming Wash
View all detailsSold Out -
Microfiber Madness IncrediPole Wash Cover
View all details -
Microfiber Madness DeliPad XL
View all details -
Sold Out
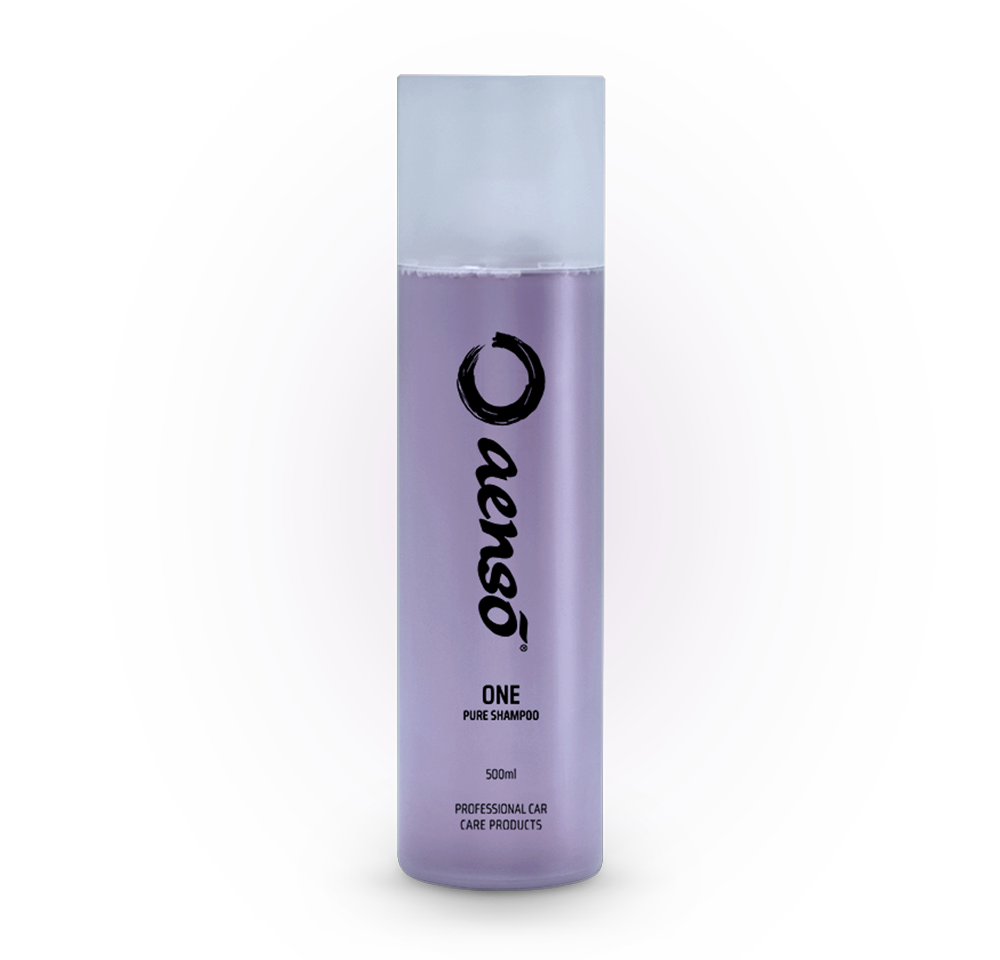
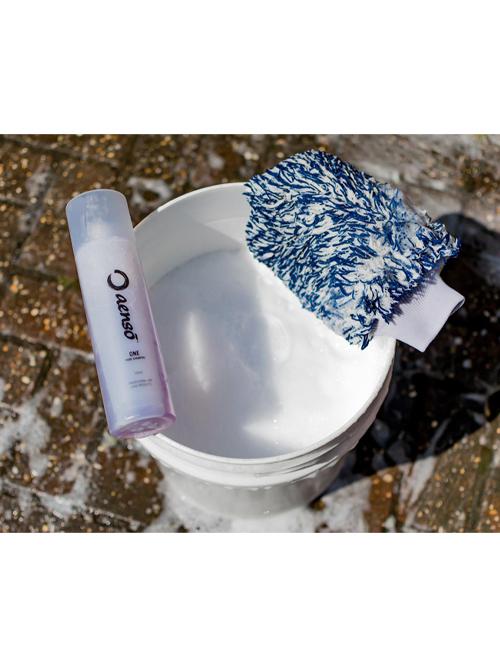
AENSO ONE – Pure Shampoo 500ml
View all detailsSold Out -
Sold Out
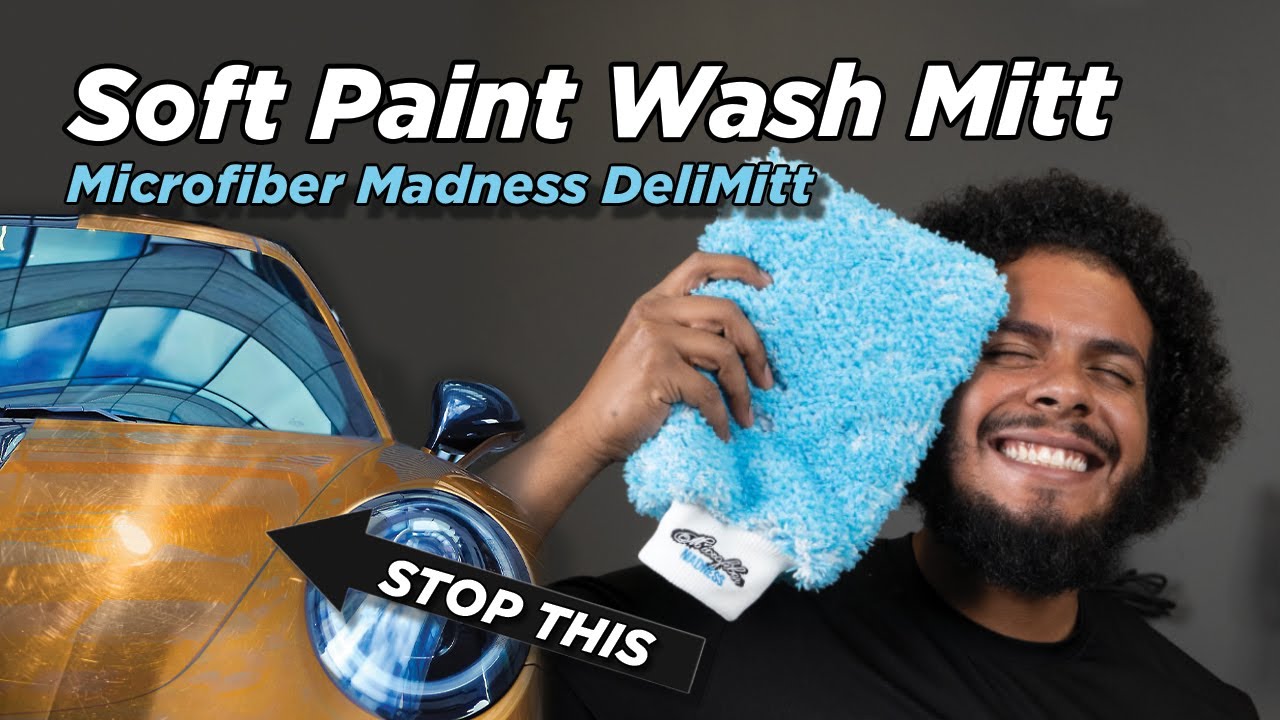
Microfiber Madness DeliMitt
View all detailsSold Out -
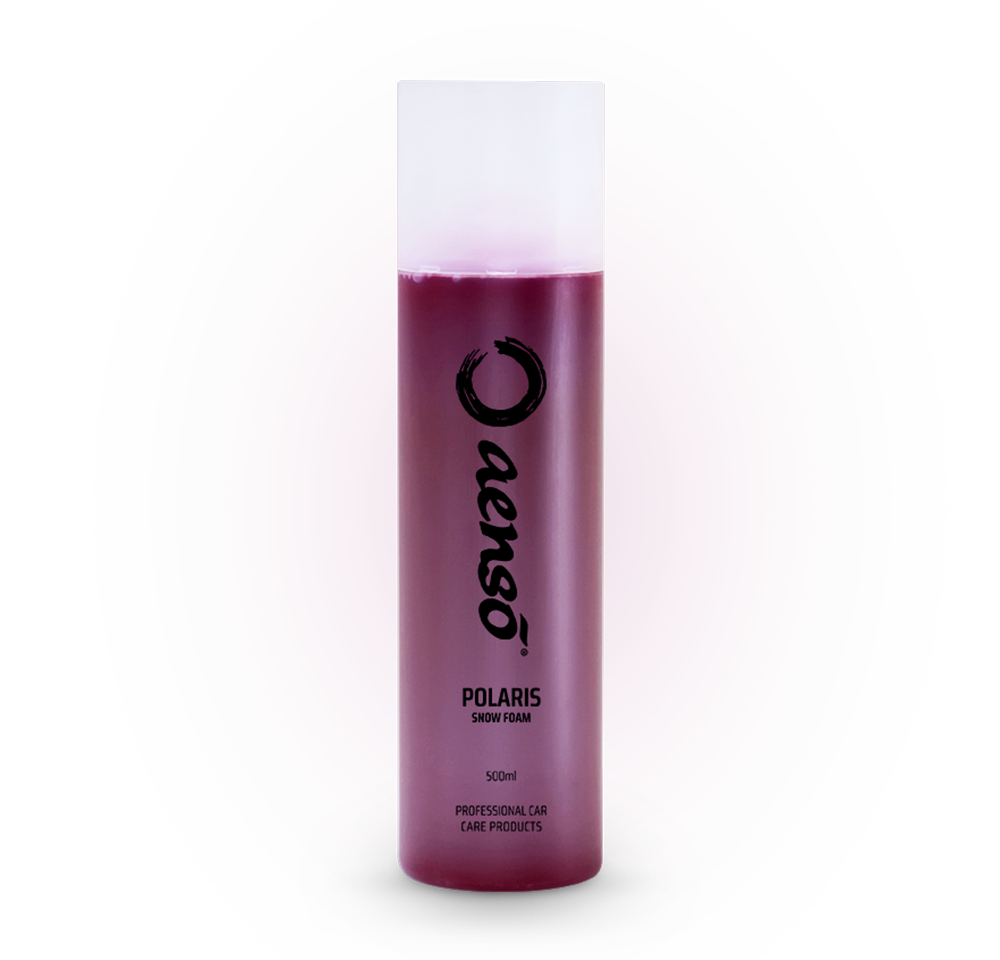
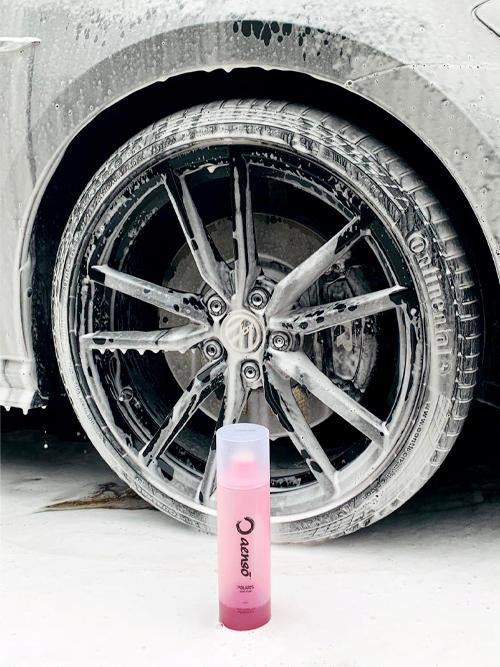
AENSO POLARIS – Snow Foam 500ml
View all details -
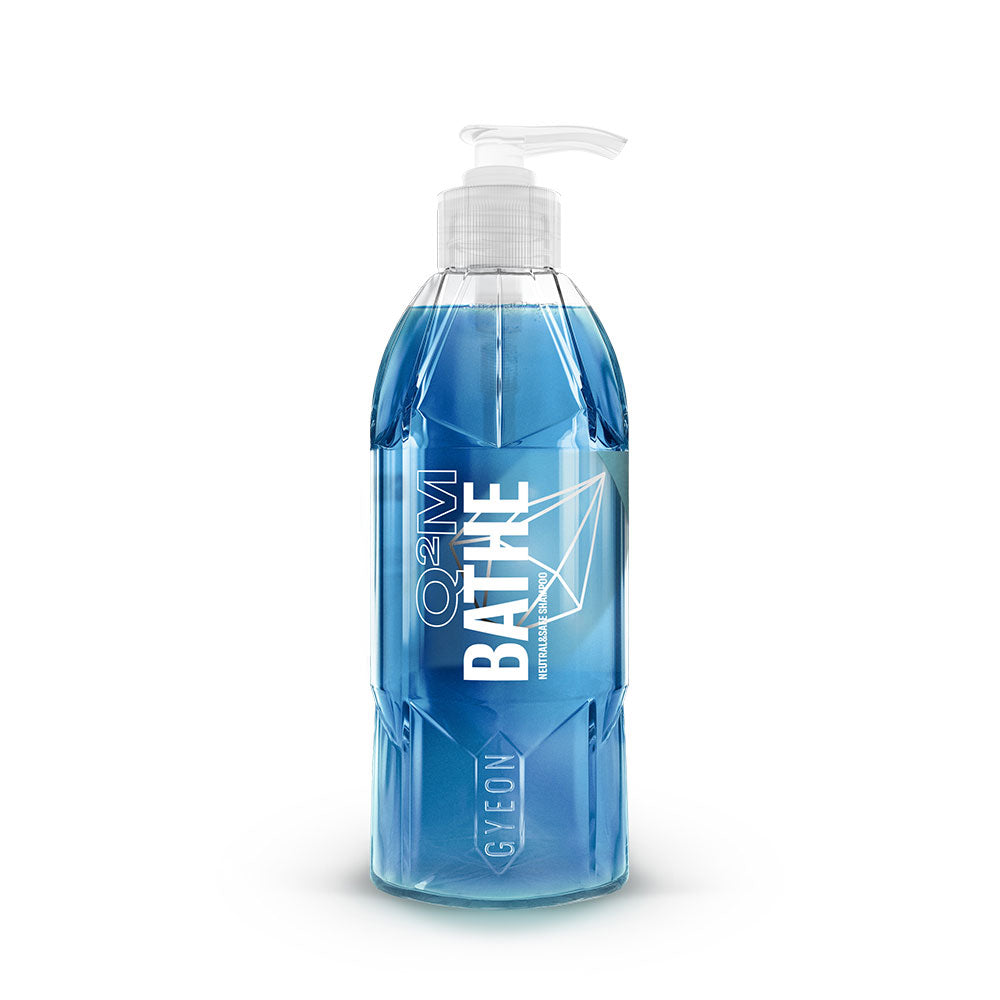
Gyeon Q2M Bathe
View all details -
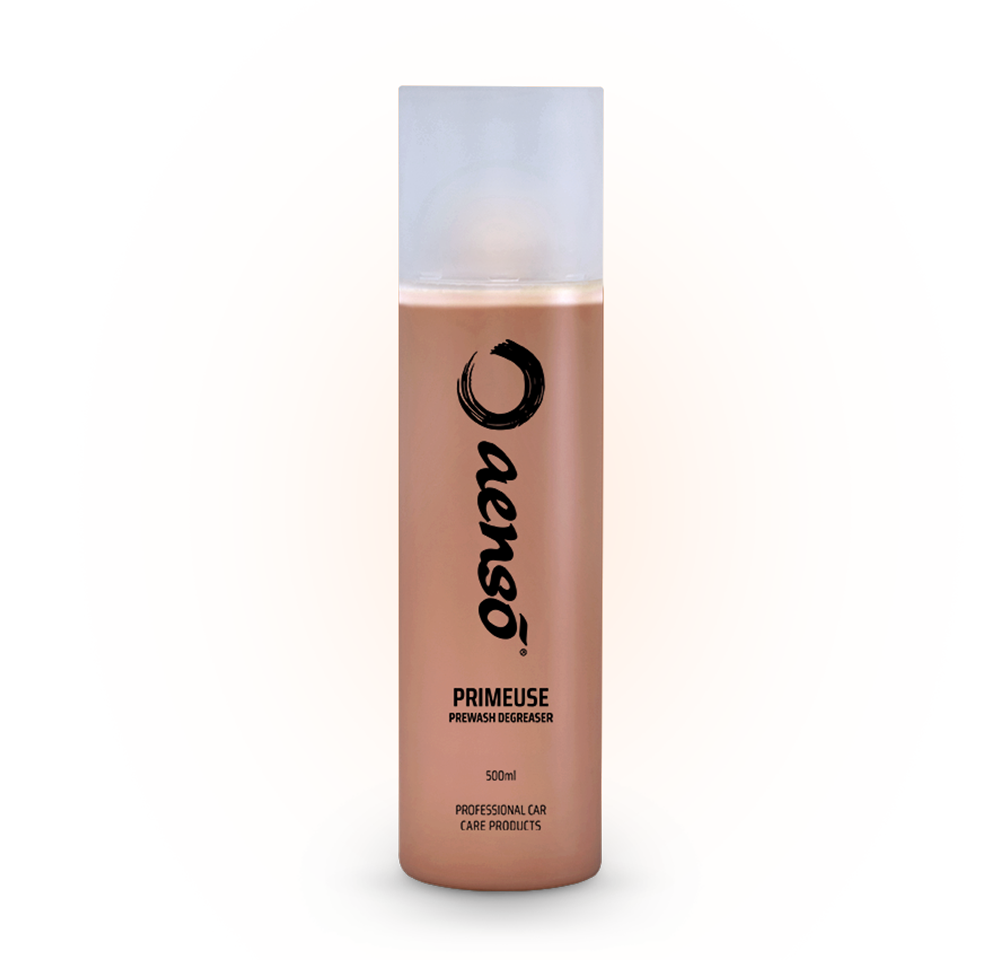
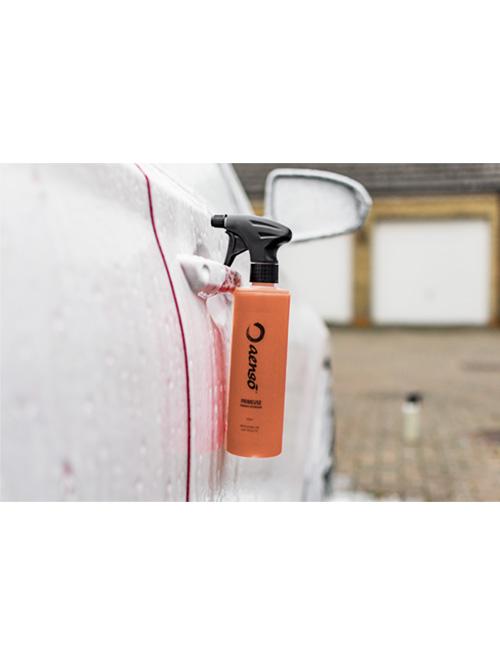
AENSO PRIMEUSE – Prewash Degreaser 500ml
View all details -
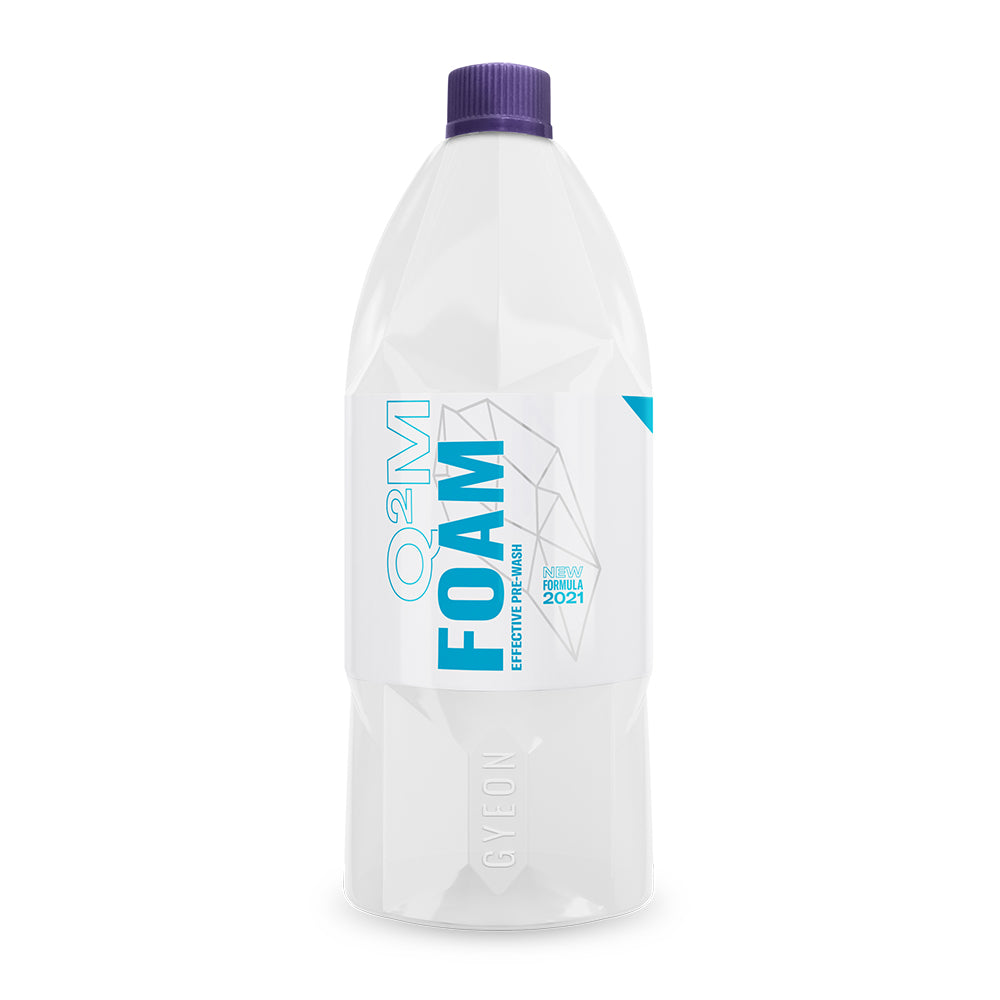
Gyeon Q2M Snow Foam 1L
View all details -
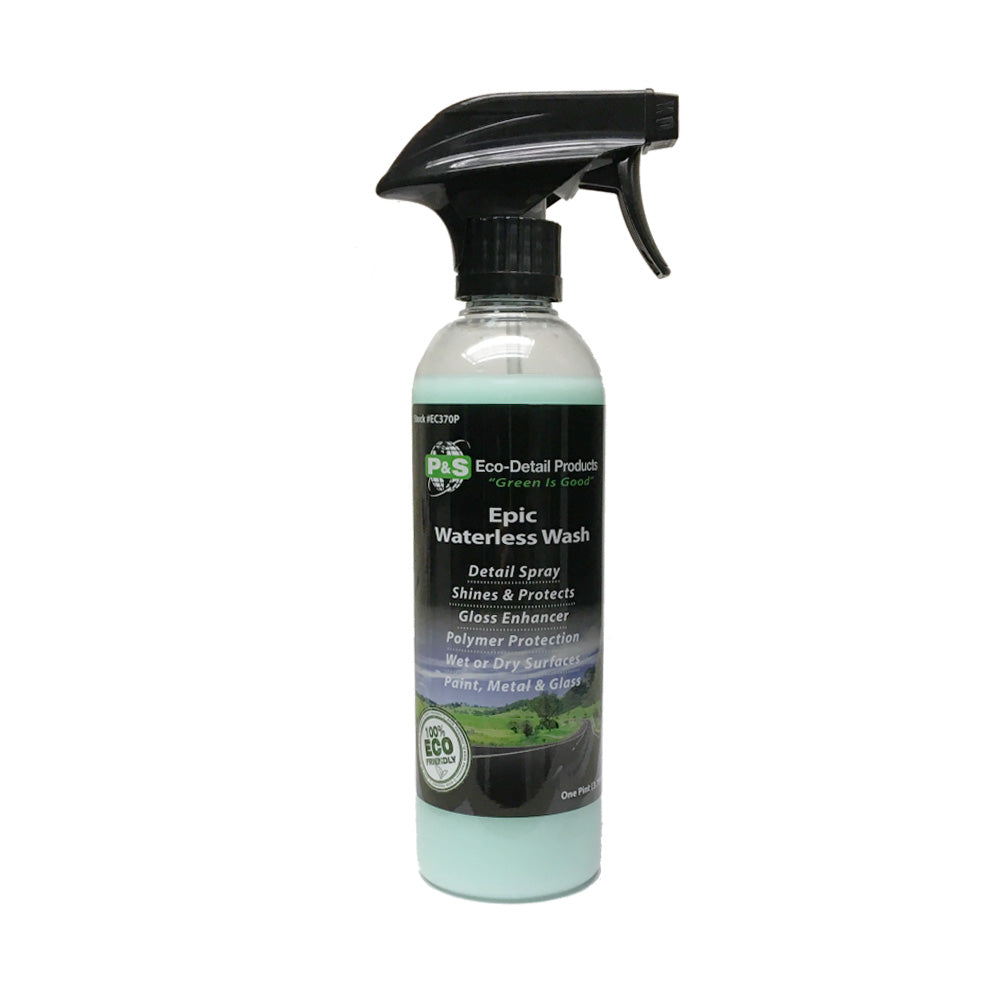
P&S EcoDetail Epic Waterless Wash 473ML
View all details -
SaleSold Out
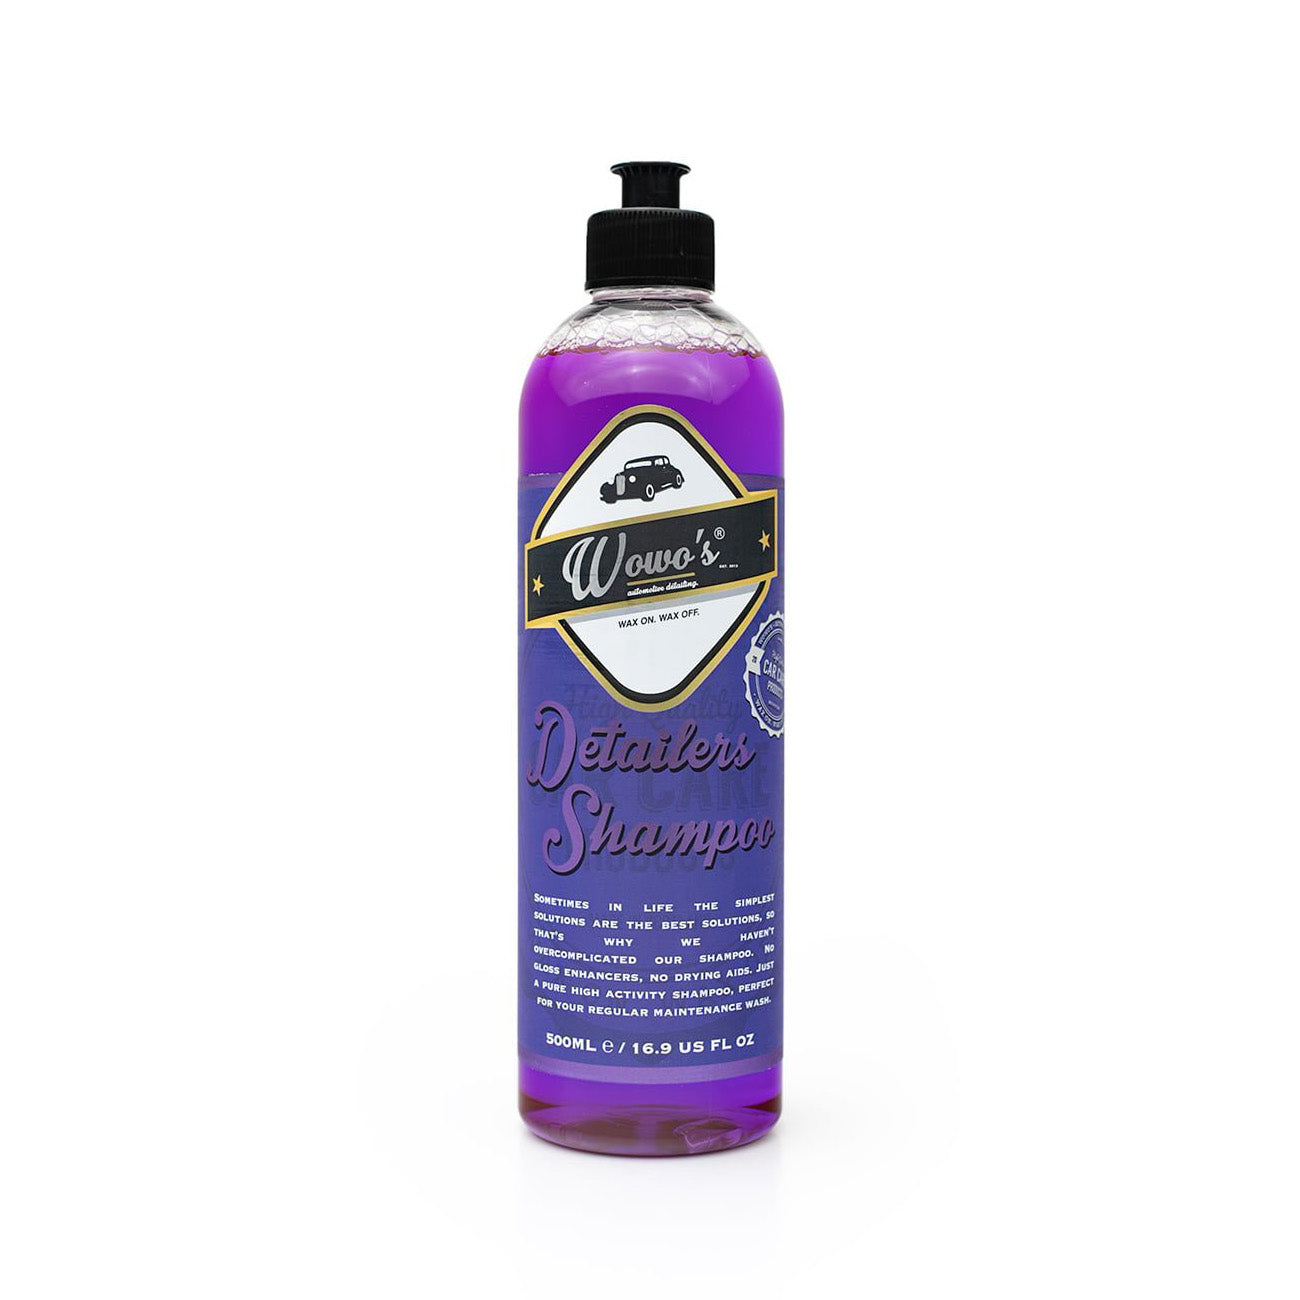
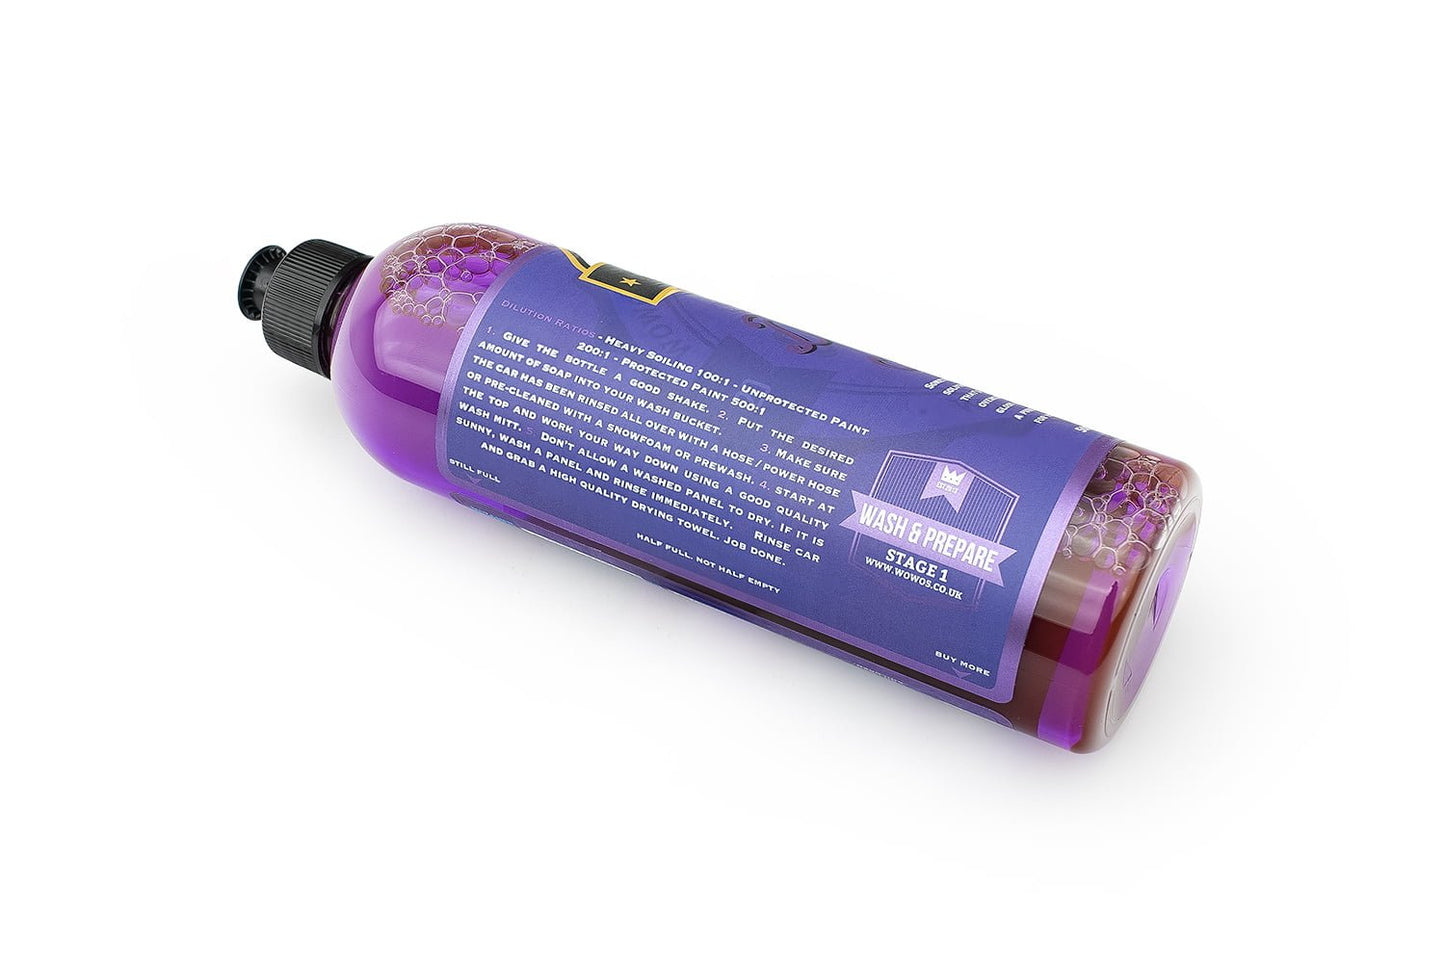
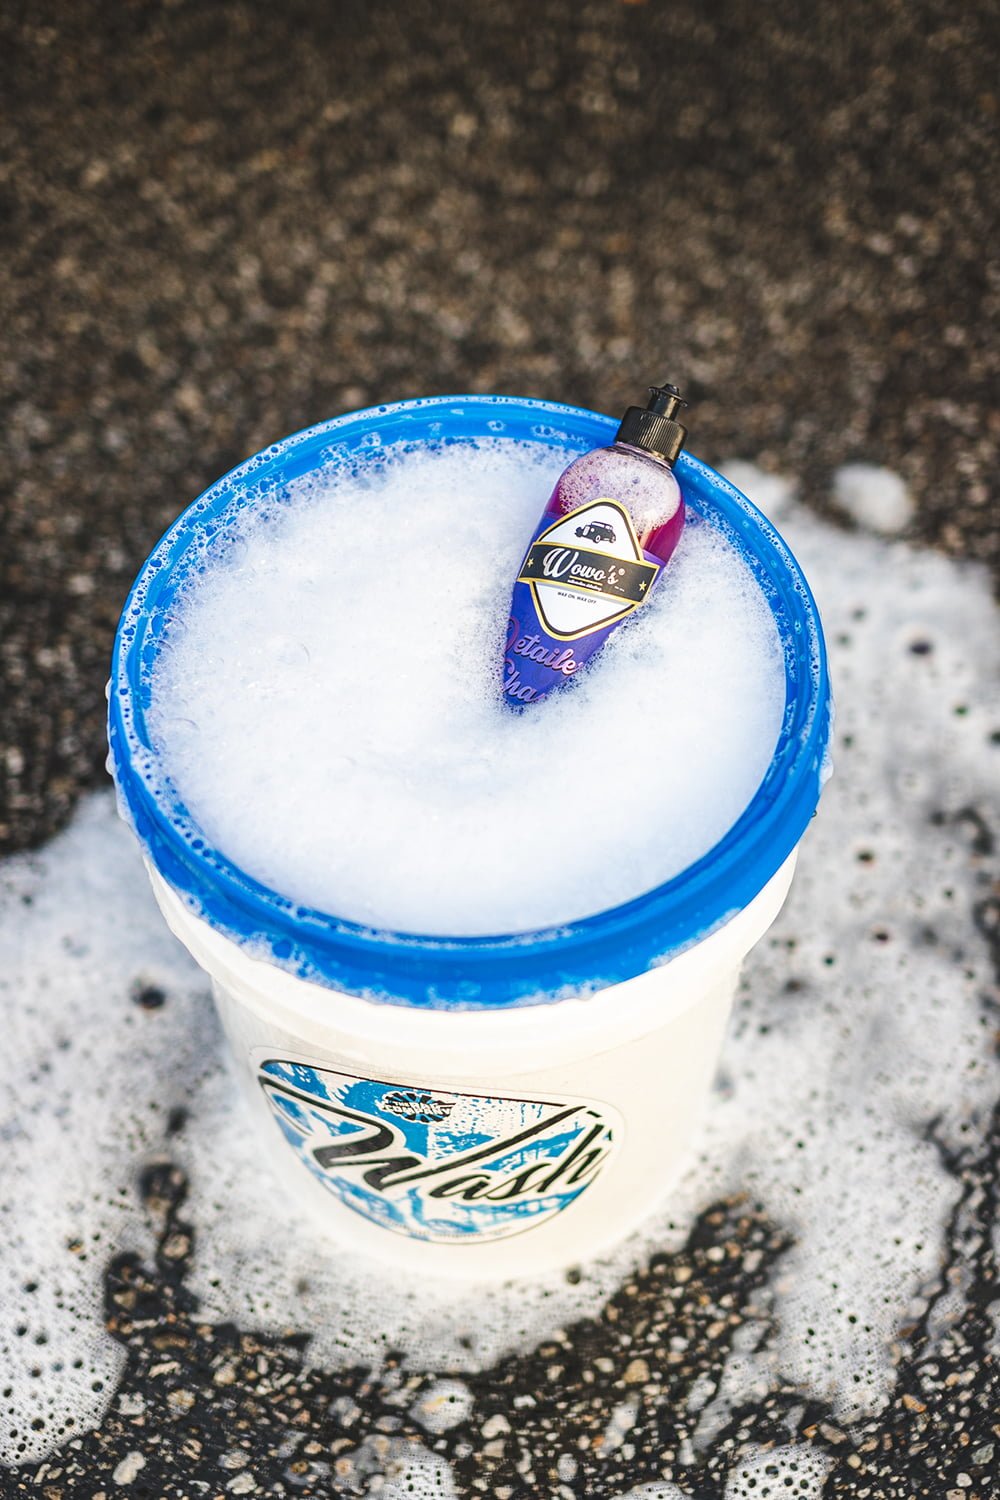
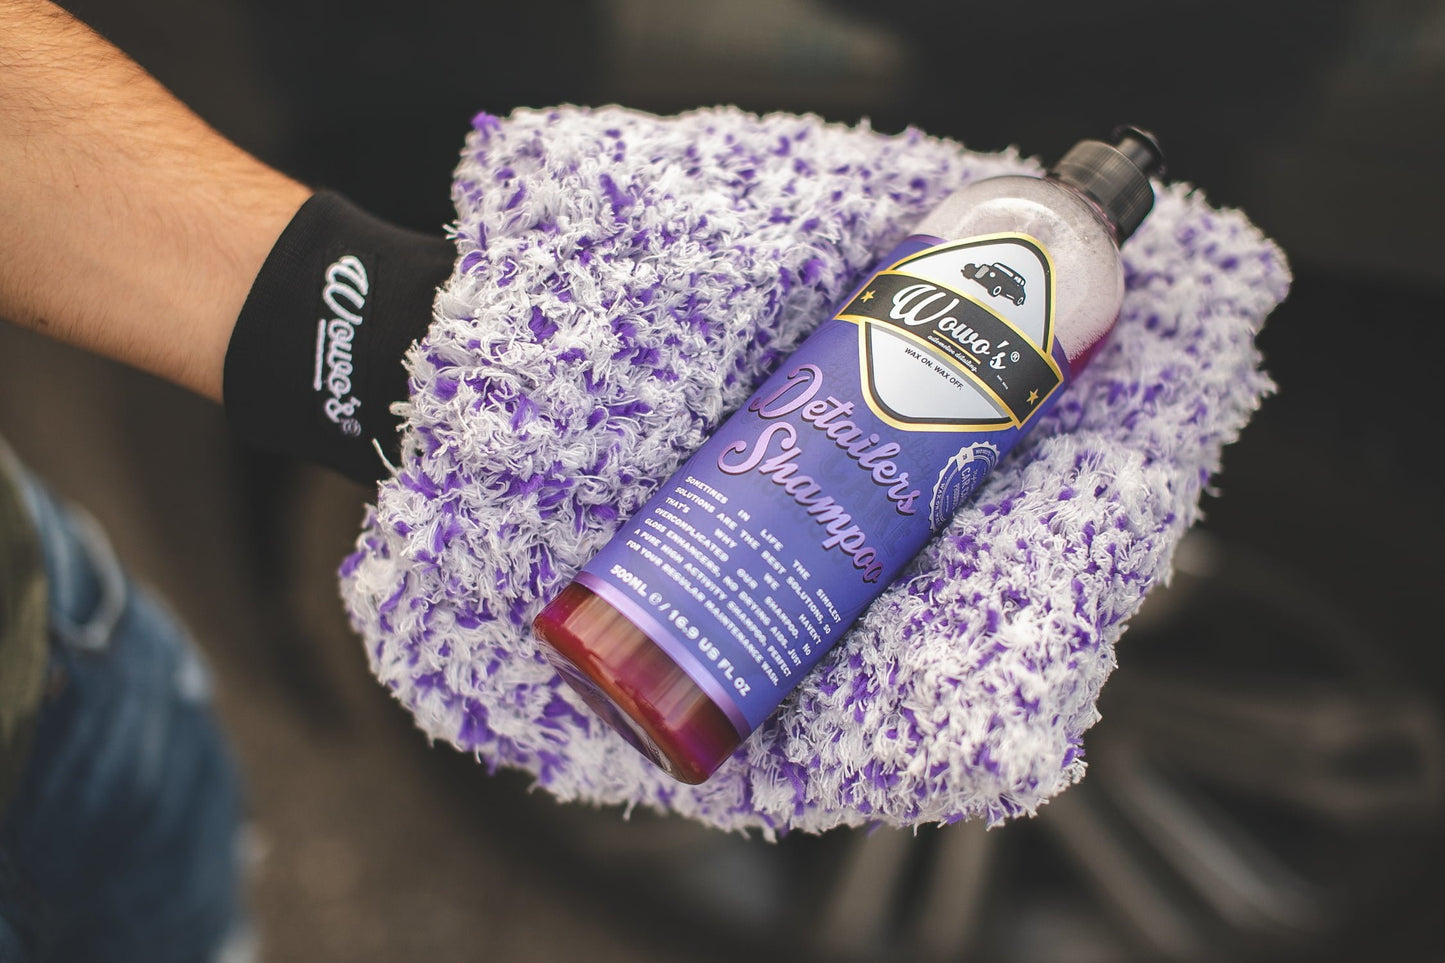
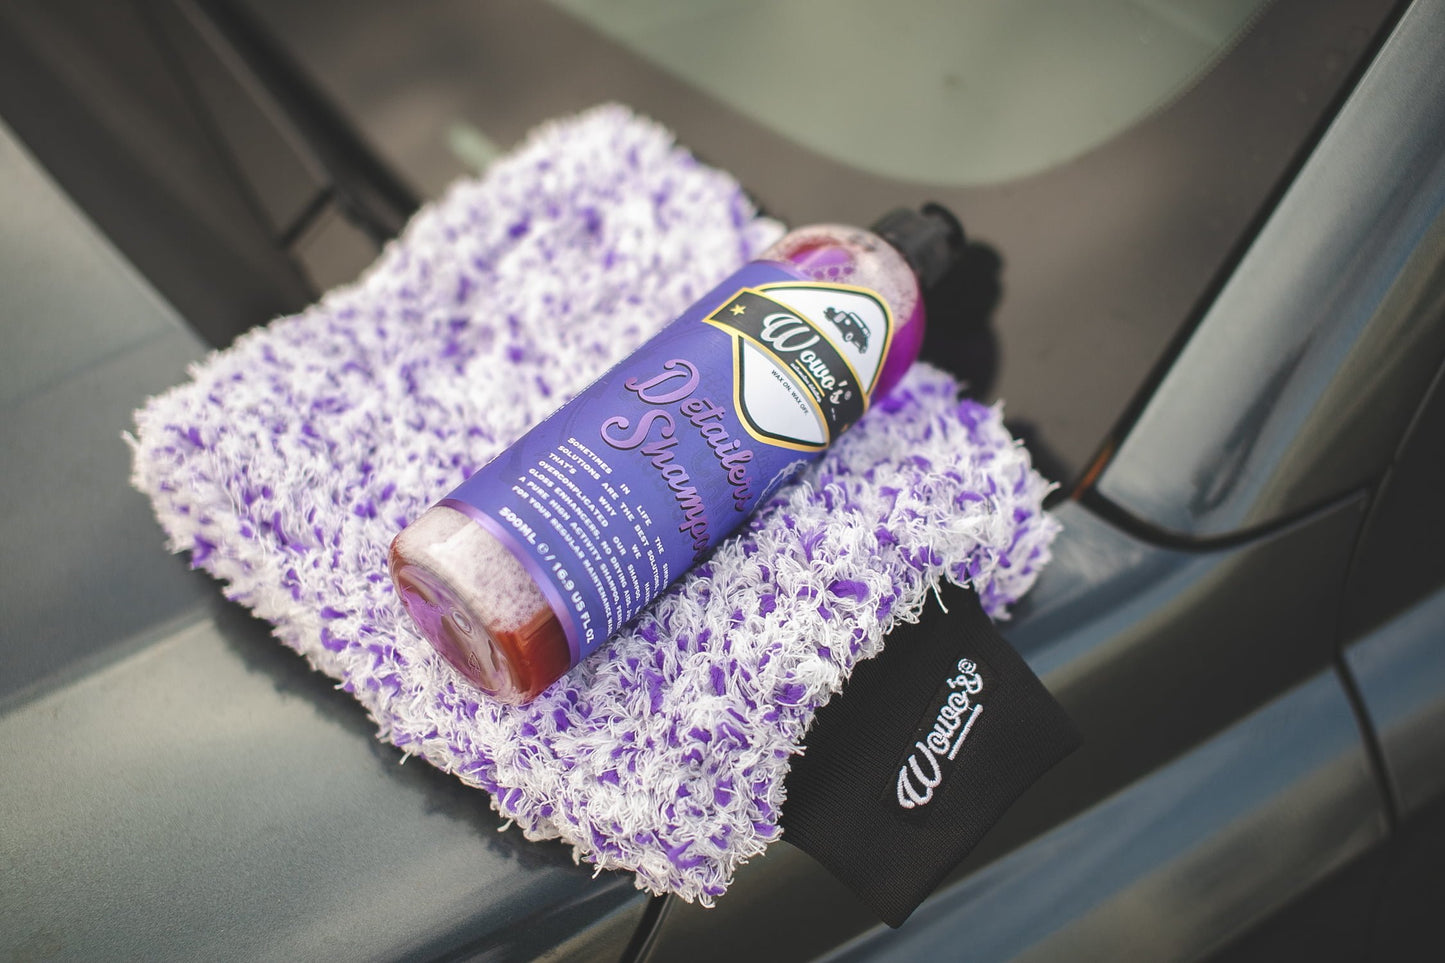
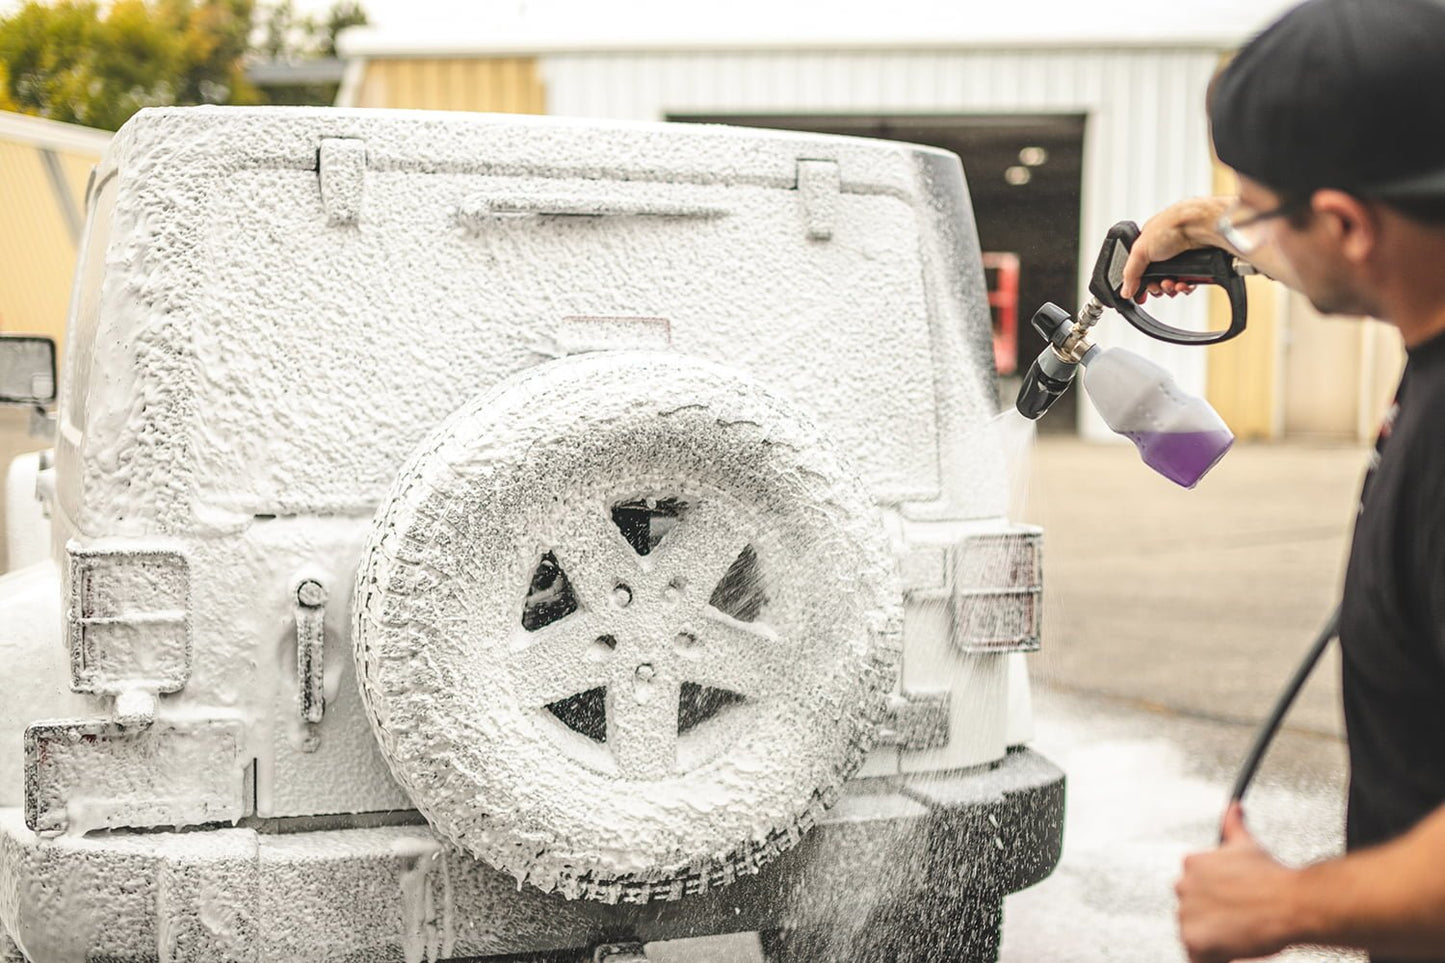
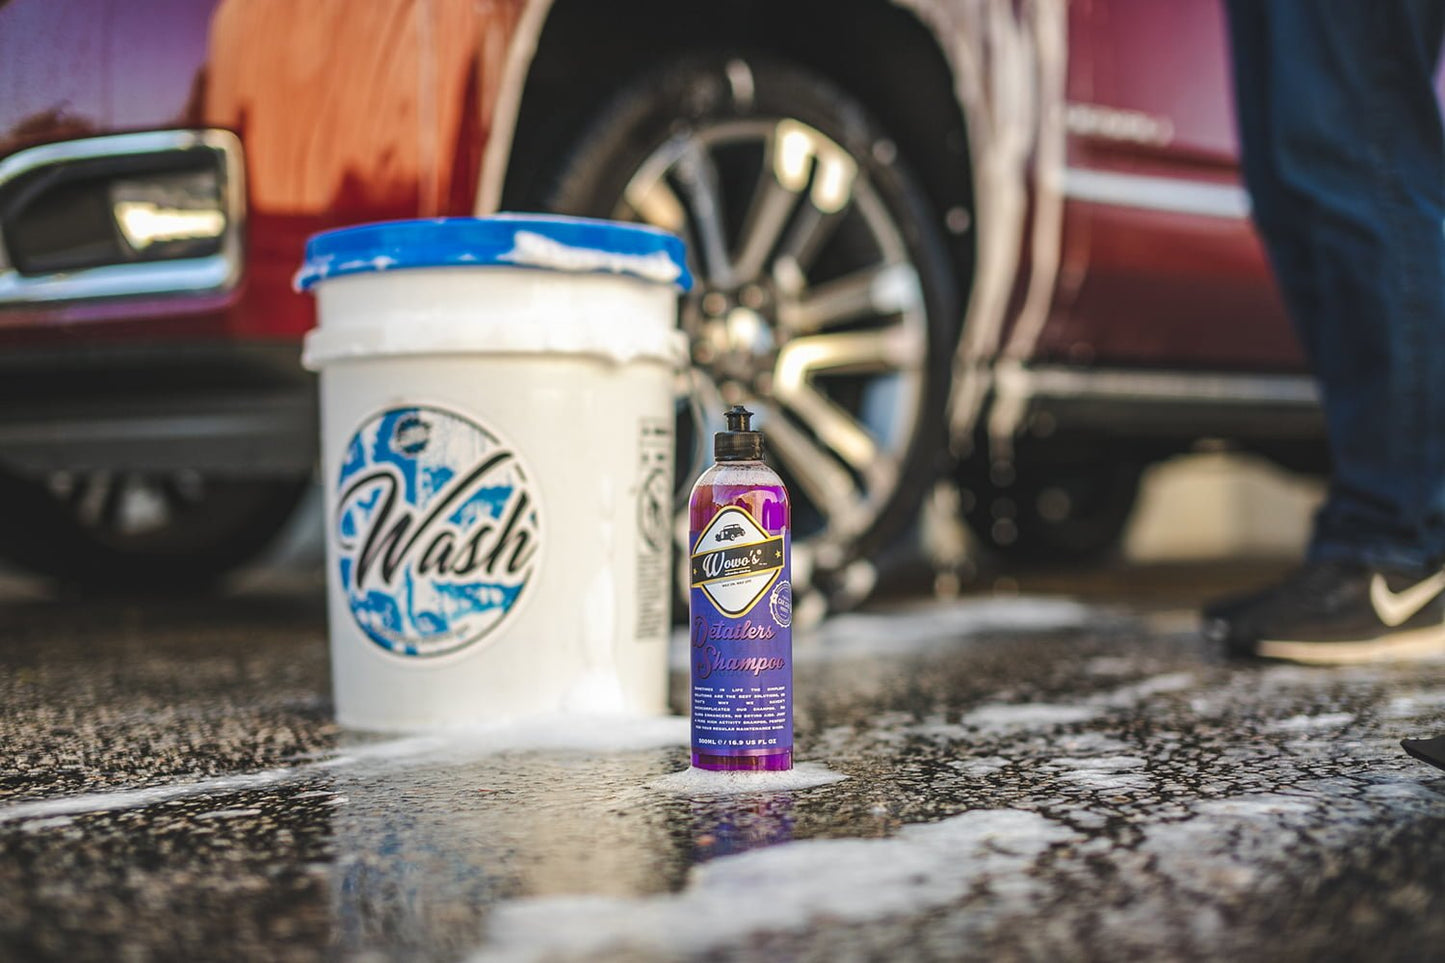
Wowo’s Detailer’s Shampoo 500ml
View all detailsSold Out
Wash & Cleaning Process
The 1st Step: Preparation:
Gather all necessary equipment: Snow Foam Pressure Washer, Buckets, Microfiber Drying Towels and Microfiber Washing Mitts or Pads, Shampoos, Wheel Cleaner, Rubber & Trim Cleaner, Glass cleaner etc.
Ensure that the water supply and hose are ready and the car is cool to the touch.
Prewash Step: (for heavily soiled surfaces) Spray the Prewash Degreaser on soiled surface and leave to react. Wash away with pressure washer.
The 2nd Step: Rinse:
Begin by rinsing the car's exterior to remove loose dirt and debris.
The 3rd Step: Wheels and Tires:
Apply suitable Wheel Cleaners and Rubber & Trim Cleaner to the wheels and tires.
Use a Brush to agitate and remove brake dust, grime, and dirt from the wheels.Rinse thoroughly.
The 4th Step: Two-Bucket Wash:
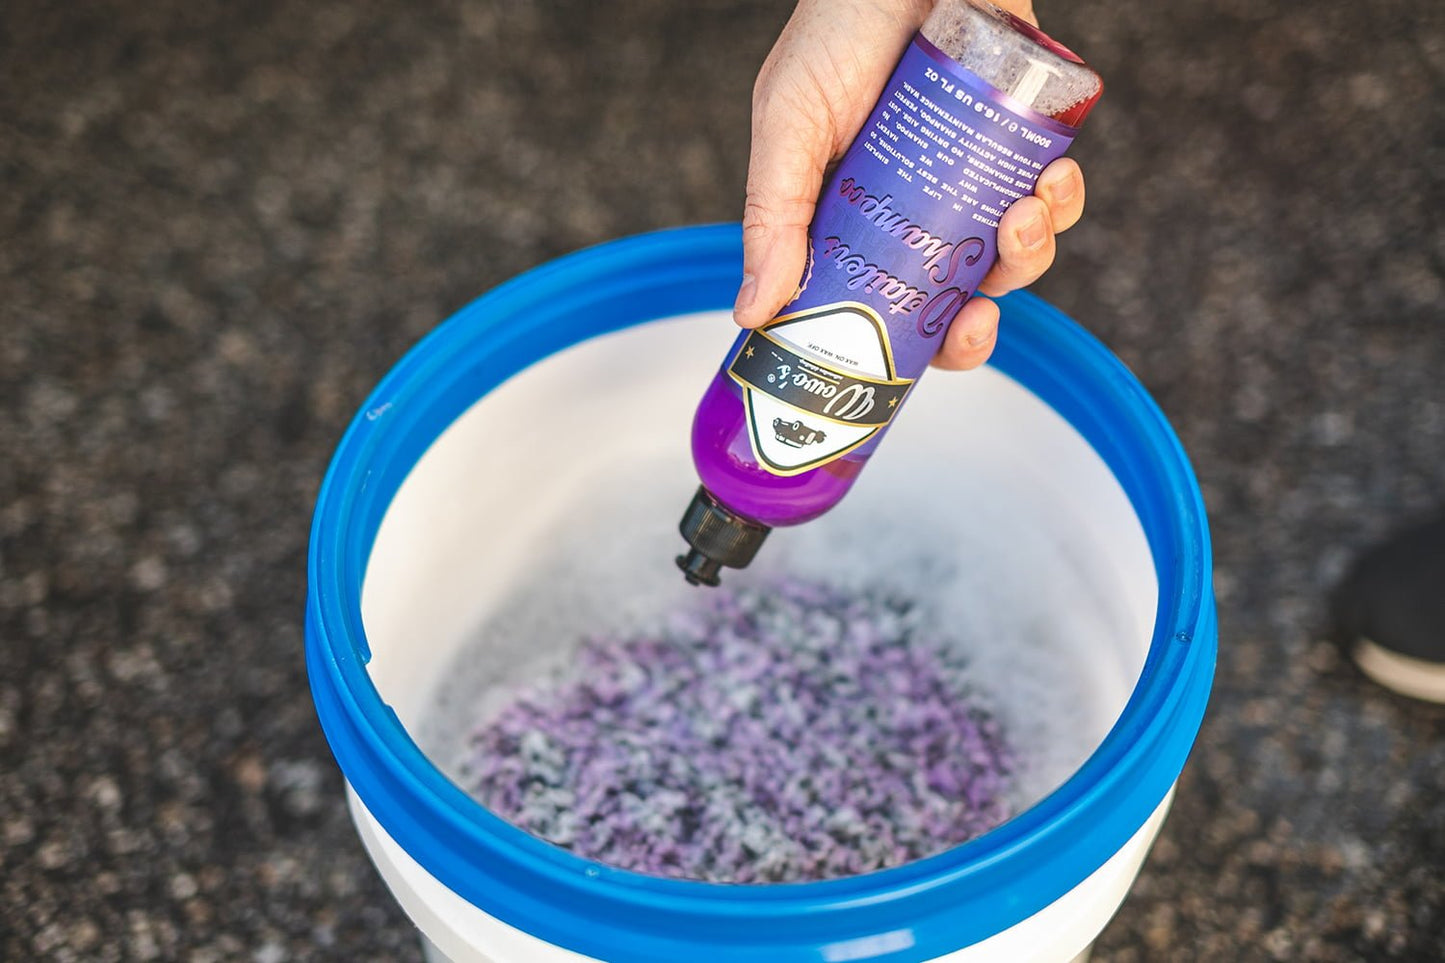
Fill one bucket with clean water and another with a mixture of car wash soap and water.
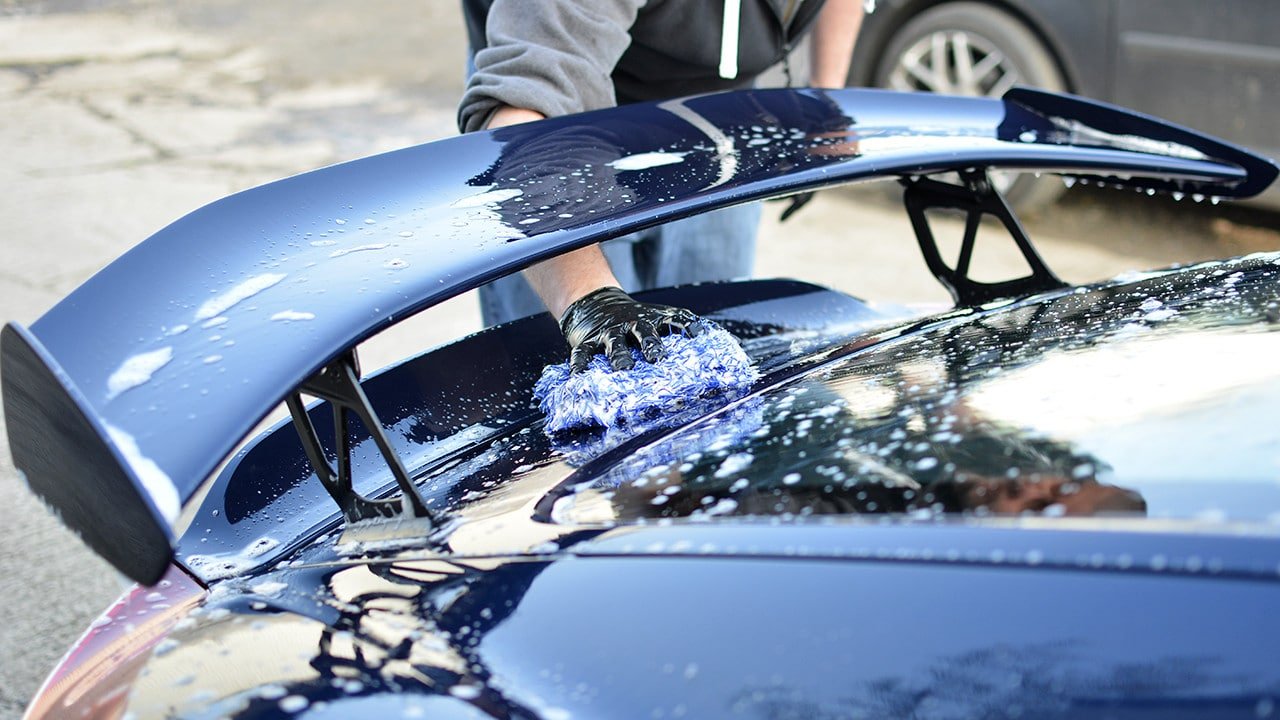
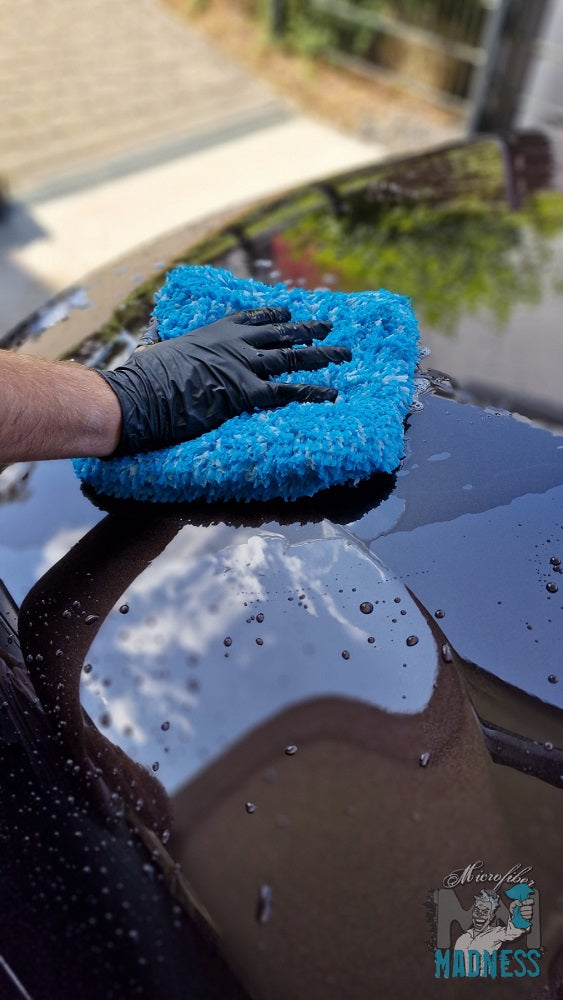
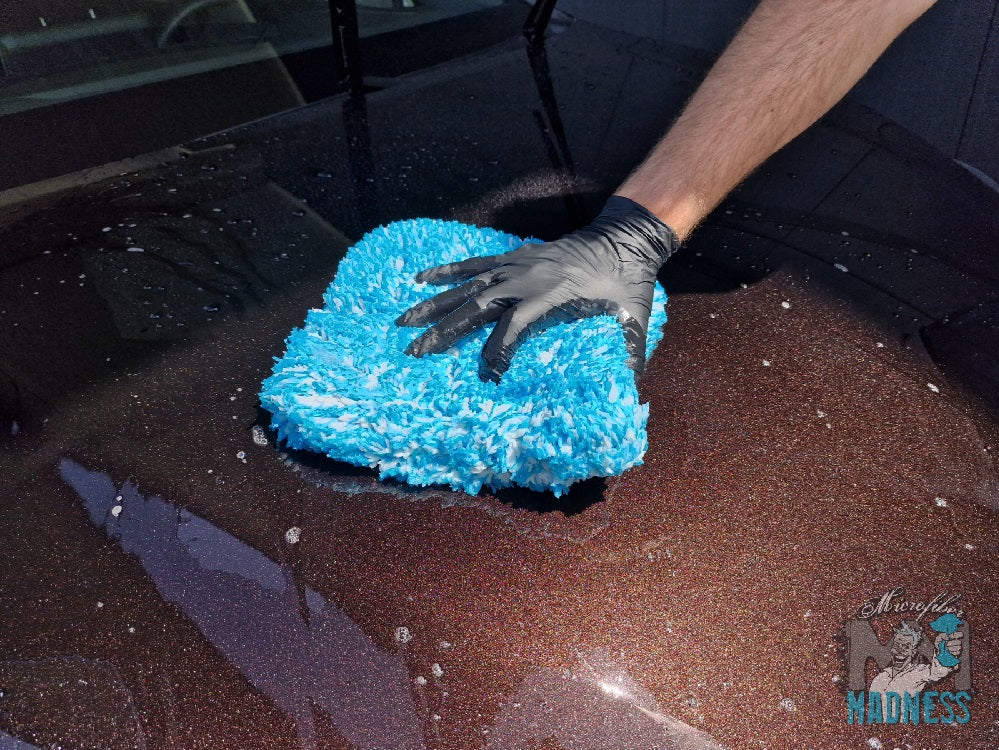
Use a wash mitt to gently scrub the car's surface, starting from the top and working your way down.
Dip the mitt in the soapy water, then rinse it in the clean water bucket before returning to the soap bucket to prevent dirt from scratching the paint.
The 5th Step: Rinse and Dry:
Rinse the car thoroughly to remove soap residue.
Use a clean microfiber towel to dry the car's exterior, starting from the top and working down.
Decontaminating your car involves removing stubborn contaminants like tree sap, tar, industrial fallout, and other substances that regular washing might not remove. This process is typically done before polishing or waxing to achieve a smooth and clean surface.
When should I do Decontamination:
- Visual Inspection: Regularly inspect your car's paint and feel the surface with your hand. If you notice roughness, even after washing, it's a sign that contaminants are present.
- Seasonal Maintenance: Decontamination can be part of your seasonal car maintenance routine. It's especially important after harsh weather conditions or when your car has been exposed to road debris.
- Before Polishing or Waxing: Decontaminate your car before applying polish or wax. A smooth surface enhances the effectiveness of these products.
The 1st Step: Chemical decontamination:
Iron removers are used to treat environmental fallout or bonded metal particles.
Bug & Tar & Water Spot removers are used to treat road or traffic grime, tar deposits and bird poo spots on your vehicle's paint.
All purpose cleaners (such as CarPro Multi X) and degreasers can be used to treat traffic film as well as to strip existing paint protection that has been applied in the past.
Surface Cleaners can be used to not only lift polishing oils and residue to the surface, but also dissolves them as well as providing enough lubrication to avoid marring on soft paints and leaves a static free dust repellent surface which is then prepared for your next step of automotive coatings.
How to do chemical decontamination?
As a general method, the chemicals are sprayed on to wet or slightly wet paint (after washing the vehicle) and left to dwell for a few minutes and then rinsed off. Chemicals should never be used under direct sunlight or on hot panels and they should be rinsed off within five minutes or before they entirely dry up.
The 2nd Step: Mechanical decontamination:
Clay Bar to physically collect and remove more stubbornly bonded particles from car paint’s surface, glass and even certain materials and trims. Any form of clay, either traditional or synthetic, must be used with a Clay Lubricant to aid its movement and reduce potential marring on the paint or surface.
How to do Mechanical decontamination?
- Cut the clay bar into manageable pieces and mold it into a flat shape.
- Gently rub the clay bar over the lubricated surface in straight lines or light circular motions with clay lubricant, ensuring you work small sections at a time.
- Regularly fold and knead the clay to expose a glossy and smooth surface.
- After using the clay bar, wipe the area with a clean Microfiber Towel.
Tips: Make sure you are frequently folding your clay bar or rinsing your clay pad. Apart from paint or clear coat, you can also clay glass, metals and non-textured gloss plastics. You should never clay matte or satin finish paints, textured plastics, or plastics with matte or satin finishes.
How to dry your car?
Starting with the highest surface on the vehicle, wipe away the water with your drying towel or blow it away with an BLO Car Air Dryer. Make sure to wring out your Microfibre Drying Towel, if possible, so the towel can continue to absorb water rather than just push it around. Every so often, inspect your towel for bits of debris. Switch to a clean towel when necessary to avoid scratching the paint. Once the roof is dry, you’re ready to move to the next-highest portion of the vehicle, which will be either the hood or the trunk. Repeat the previous steps and then move to another part of the car. Continue to work your way down the vehicle until it is completely dry.
Blo Car Dryer AIR-GT is one of the most powerful Car Dryers on the market, feating twin motors that offer 8HP. This car blower will shoot water away effortlessly, and provide much faster and safer drying method to prevent any risk of marring your paint surface during the drying process.
Blo Car Dryer AIR-RS is a compact Car Dryer that packs a big punch. Ideal for safely and easily drying cars and motorcycles, driving out water from every vent, mirror or hiding spot. Do not let this lightweight car blower fool you, it packs a huge 5.5HP motor and comes with a 16’ (5M) Cord and 16’ (5M) Hose to reach right around your car or bike.
Microfiber Drying Towels are made of an ultra-soft extra thick microfiber material to achieve maximum water absorption. The microfiber drying towels can easily removes every drop of water from a vehicle with no need to wring it out a single time.
Polishing Process:
1. Assess the Paint: Inspect your car's paint to identify any imperfections like swirl marks, light scratches, or dull areas that need polishing.
2. Gather Supplies: Choose a suitable Compound & Polish.
3. Mask Sensitive Areas with Tape to protect sensitive areas like rubber trim, plastic, and decals from accidental contact.
4. Apply Polish:
If using a dual-action polisher:
- Attach a Polishing Pad to the machine.
- Apply a dime-sized amount of Compound & Polish to the pad.
- Spread the polish over a small section of the car's surface before turning on the polisher.
- Turn on the polisher and work in small, overlapping passes, applying light to moderate pressure.
- Keep the pad flat against the surface. Let the polisher do the work; avoid pressing too hard.
- Work in sections, moving methodically across the car.
If polishing by hand:
- Apply a small amount of polish to a Microfibre Wax & Coating applicator or a clean, soft Microfiber coating & polish towel.
- Rub the polish onto the paint using gentle circular motions. Work in small sections.
5. Buff the Polish: Use clean Microfiber Coating & Polish towel to buff away the excess polish once it begins to haze or dry. Buff in a straight back-and-forth motion, flipping the towel as needed.
6. Inspect and Repeat: After buffing, inspect the area to see if the desired level of correction has been achieved. If needed, repeat the process for more severe imperfections.
7. Remove Masking Tape (If Used)
Tips: Remember that proper technique and patience are essential when polishing your car. If you're new to machine polishing, practice on a small, inconspicuous area before tackling the entire car. If you're unsure about using a machine polisher, you can also achieve good results by polishing by hand. Always follow the manufacturer's instructions for the polish and any equipment you're using.
Protection process includes Paint protection, Glass protection, Wheel protection and Rubber & Trim Protection.
Ceramic Coatings & Spray Coatings are new forms of paint protective technology that encase your vehicle in a layer of glass, giving great levels of chemical/physical resistance and a huge aesthetic enhancement.
Ceramic Coatings tend to be silica based solutions that create a protective glass coating on the surface of the vehicle. These Glass Coatings are negative in charge, meaning they don’t attract dust like regular Waxes and Sealants, and have a much higher repellency to water and contaminants. Their composition creates a much longer durability, resulting on average 2+ years. Their molecular structure also provides extremely strong chemical and physical resistance – mitigating swirls and scratches on the surface, whilst repelling even the harshest of contaminants.Glass Coatings give a rich wet look on the surface, giving the paint more depth, and providing an incredible high gloss finish on any colour.
How To Apply a Ceramic Coating?
- All the first 4 steps should be finished.
- Perform a Surface Cleaner spray and a damp Microfiber Towel to wipe down the car's surface and remove any chemical residue or polishing oils and fingerprints from the paint and trims.
- Most ceramic coatings will come with the applicator blocks and cloths needed to apply it, but you’ll also need about half a dozen Microfiber Coating& Polish Towel. In general, a bead/line of the coating is dispensed across the applicator cloth, and the coating is applied to about a half-metre square area of a vehicle’s panel. Apply it in overlapping vertical and horizontal lines, wiping the coating several times in each section to ensure an even and consistent application.
- within a few minutes, the coating should flash, meaning that it’s bonded to the paint and is ready to be wiped down to collect the excess product.
Spray Coatings are by far the easiest method of Paint Protection, and are becoming more and more popular due to their simplicity of use, and impressive results. It can act as an short term solution to protect your paint or added protection and gloss for any paint protected, waxed, or sealed car.
How To Apply a Spray Coating?
Simply wash your car, rinse your car, spray each panel with some Wetcoat and rinse your car thoroughly to reveal an instant protected paintwork that is already repelling water away.
Step 1: Clean car interior
- removing personal items and floor mats to ensure you have access to all the areas that need cleaning.
- vacuum of all the seats, carpets, and areas that contain dust and dirt, and you can even use a little Detailing brush to dust out more intricate areas as you vacuum.
- use an All purpose interior cleaner to breakdown and remove surface grime. You can simply spray this onto a Microfibre interior cloth and proceed to wipe down your car’s interior plastics, vinyl and even cloth seats and carpet. You can also use products for specific areas like Leather cleaners, Carpet & Fabric Cleaners.
- Glass cleaner can be used with a Glass microfibre cloth to give your interior windows, mirrors, and even display screens a wipe down.
Step 2: Protect car interior
Leather Protectants, Carpet & Fabric Protectants, Trim & Vinyl Dressing can be applied using a Microfibre wax and coating applicator, and then allowing it hours to bond and set.
Step 3 : Air Fresheners & Odor Neutralizers - add a final attack on odors caused by bacteria, microorganisms, body odor, organic and inorganic compounds.

